
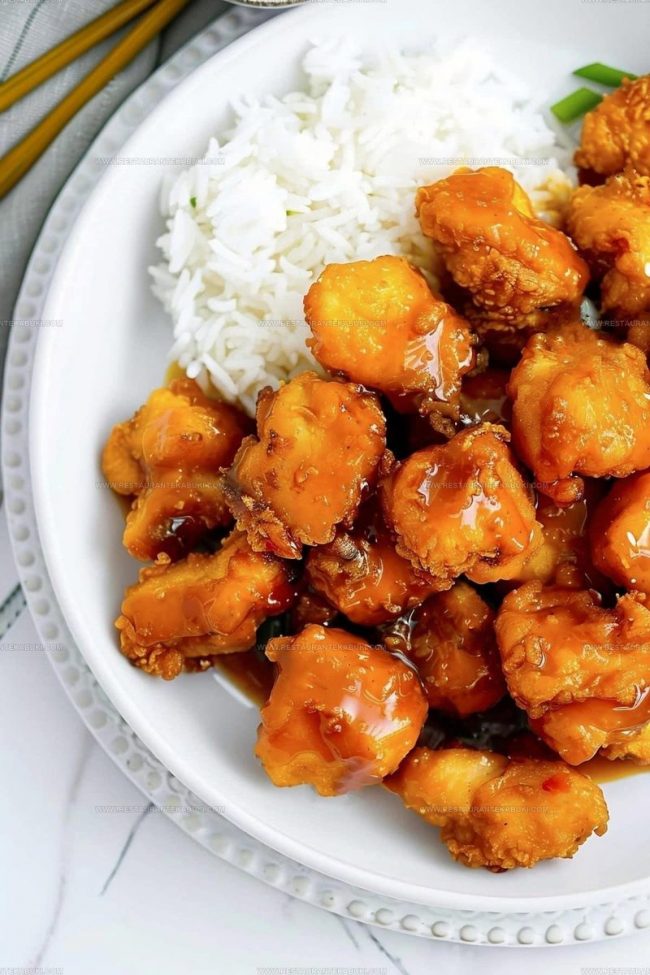
Crispy Sweet and Sour Chicken Balls Recipe to Impress
Sweet and sour chicken balls are one of those classic takeout-style dishes that never lose their charm.
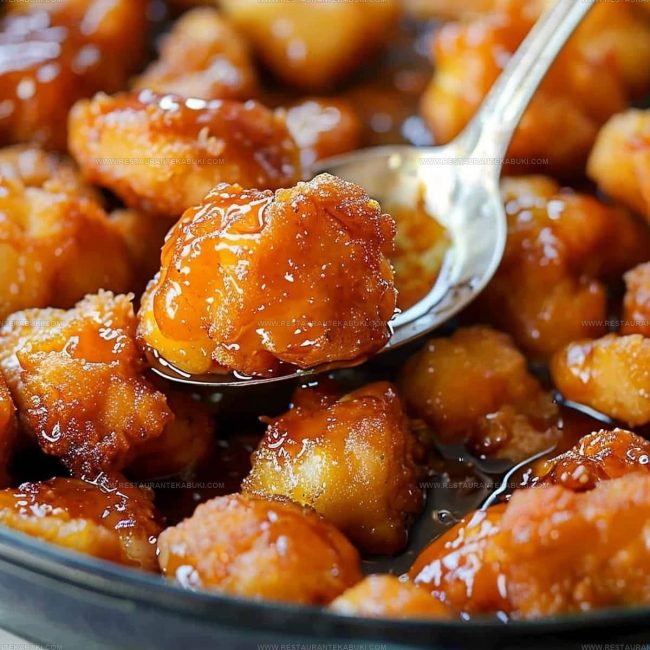
Crispy on the outside with a perfectly balanced sauce, they hold a special place in comfort food culture worldwide.
Home cooks love how approachable this dish feels, making it just as rewarding to prepare as it is to eat.
Every bite carries that bold, punchy flavor profile that keeps people coming back for more.
Food that tastes this good and comes together so effortlessly deserves a permanent spot in your weekly rotation.
The Charm of Sweet and Sour Chicken Balls
Which Ingredients Complete Sweet and Sour Chicken Balls
Sweet And Sour Sauce:Chicken And Coating:For Frying:What Tools Work for Sweet and Sour Chicken Balls
Step Plan For Sweet and Sour Chicken Balls

Make The Sweet And Sour Sauce Base
In a saucepan, combine the sauce ingredients together:
Stir everything together until the sugars dissolve and your sauce base comes together smoothly.
Thicken The Sauce
Pour 3/4 cup of cold water or unsweetened pineapple juice into a small bowl, then add 3 tablespoons of cornstarch to it.
Whisk these two together until the cornstarch blends in completely without lumps. Now pour this mixture into your saucepan with the other ingredients.
Place the pan over medium-high heat and whisk constantly as it heats up. Keep stirring until the sauce reaches a boil and thickens, which takes about 3 to 5 minutes.
Once it gets thick enough to coat a spoon, remove it from the heat and let it cool down completely at room temperature.
Prepare The Chicken Batter
In a large mixing bowl, combine your dry ingredients for coating the chicken:
Pour 1 1/3 cups of cold water into the dry mixture, and add 1 to 2 teaspoons of sesame oil if that appeals to you.
Whisk everything together until your batter becomes smooth with no lumps.
Coat The Chicken Pieces
Take your bite-sized chicken pieces (cut from 8 chicken breasts) and work through them in batches, coating each piece thoroughly in the batter until it’s completely covered on all sides.
Make sure your pieces are evenly coated so they fry up consistently.
Heat The Oil For Frying
Fill a deep-fryer or Dutch oven with oil for frying.
Heat the oil to 375 degrees Fahrenheit. Test the temperature with a kitchen thermometer to ensure your oil reaches the proper heat before adding the chicken.
Fry The Chicken Balls
Using tongs to handle your pieces carefully, place the battered chicken into the hot oil. Work in batches so your pieces don’t crowd the pan and drop the temperature of the oil.
Fry each batch for 3 to 4 minutes until the coating turns golden brown and crispy. Use a slotted spoon to remove the cooked chicken from the oil and place it on a plate lined with paper towels so excess oil drains away.
Season And Serve
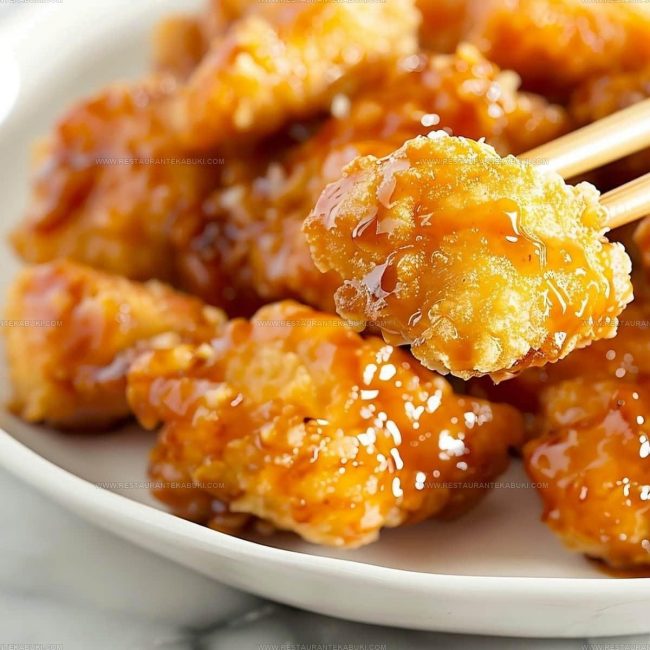
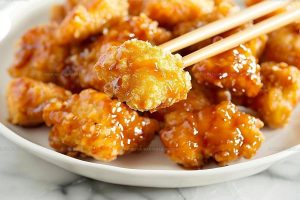
Sprinkle a pinch of salt over your finished chicken balls while they’re still warm. Arrange them on a serving plate and pour your cooled sweet and sour sauce over top, or set the sauce on the side so each person can control how much they use.
Clever Touches For Serving Sweet and Sour Chicken Balls
Fresh Flavor Ideas For Sweet and Sour Chicken Balls
How To Serve Sweet And Sour Chicken Balls With Bold Flavors
Clever Storage Tips For Sweet And Sour Chicken Balls
FAQs
Can I make the sauce ahead of time?
The sauce keeps well when cooled and stored, so prepare it whenever fits your schedule. Just reheat it gently before serving with your chicken balls.
What if I don’t have a deep-fryer?
A Dutch oven or any heavy-bottomed pot works just as well for frying your chicken. The key is maintaining the oil temperature at 375 degrees so your balls cook evenly and turn golden.
How do I know when the oil is hot enough?
Use a cooking thermometer to check that your oil reaches 375 degrees. If you don’t have one, test the temperature by dropping a small piece of batter into the oil; it should sizzle immediately and float to the surface.
Can I use pineapple juice instead of water in the batter?
Yes, pineapple juice adds a subtle sweetness to your chicken balls and pairs nicely with the sauce. Use the same amount as you would water.
Why do my chicken balls sometimes stay pale instead of turning golden?
This happens when your oil isn’t hot enough. Make sure the temperature stays at 375 degrees throughout frying, and avoid crowding the pot, which can lower the oil temperature around each ball.
Sweet and Sour Chicken Balls Recipe
- Total Time: 25 minutes
- Yield: 4 1x
Description
Sweet and sour chicken balls bring together crispy golden bites with a tangy glaze that sticks to each piece just right. Your family gets tender chicken inside a crunchy coating, all coated in that balance of sweet and savory sauce that keeps everyone coming back for more.
Ingredients
Sweet and Sour Sauce:
- 1/2 cup ketchup
- 1 teaspoon soy sauce
- 1/3 cup vinegar
- 1/2 cup brown sugar, lightly packed
- 1 cup granulated sugar
- 3/4 cup cold water or unsweetened pineapple juice
- 3 tablespoons cornstarch
Chicken and Coating:
- 8 chicken breasts, cut into bite-sized pieces
- 1 cup all-purpose flour
- 1 cup cornstarch
- 2 teaspoons baking powder
- 2 teaspoons baking soda
- 1/2 teaspoon garlic powder
- 2 teaspoons granulated sugar
- 1 1/3 cups cold water
- 1–2 teaspoons sesame oil, optional
- A pinch of salt
For Frying:
- Oil for frying
Instructions
- Combine 1/2 cup ketchup, 1 teaspoon soy sauce, 1/3 cup vinegar, 1/2 cup brown sugar, and 1 cup granulated sugar in a saucepan, stirring until everything dissolves together.
- Whisk 3/4 cup cold water or pineapple juice with 3 tablespoons cornstarch in a separate bowl until the cornstarch fully dissolves, then pour this into your saucepan.
- Whisk constantly over medium-high heat at 375 degrees Fahrenheit until the sauce boils and thickens, which takes about 5 to 7 minutes.
- Lower your heat to medium-low and simmer for 2 to 3 minutes while stirring, then remove from heat and set aside to cool.
- In a large bowl, mix together 1 cup flour, 1 cup cornstarch, 2 teaspoons baking powder, 2 teaspoons baking soda, 1/2 teaspoon garlic powder, and 2 teaspoons sugar.
- Pour 1 1/3 cups cold water and 1 to 2 teaspoons sesame oil into your dry mixture, whisking until the batter reaches a smooth consistency.
- Cut 8 chicken breasts into bite-sized pieces and coat each piece thoroughly in the batter.
- Heat oil in a deep fryer or Dutch oven to 375 degrees Fahrenheit before adding your chicken.
- Carefully place the coated chicken pieces into the hot oil using tongs and deep-fry for 3 to 4 minutes until they turn golden brown.
- Remove the chicken with a slotted spoon and drain it on paper towels to get rid of excess oil.
- Sprinkle a pinch of salt over your finished chicken and serve it hot alongside the cooled sweet and sour sauce.
Notes
- Keep your sauce ingredients at room temperature before mixing so the cornstarch blends smoothly without lumps forming in the pan.
- Make sure your oil reaches exactly 375 degrees before frying, since cooler oil makes the coating soggy and hotter oil burns the outside before cooking the inside.
- Test the batter consistency by dipping a piece of chicken; it should coat evenly without being too thick or thin, so adjust water gradually if needed.
- For a gluten-free version, swap regular flour for rice flour or a gluten-free blend and the chicken balls turn out just as crispy and golden.
- Prep Time: 15 minutes
- Cook Time: 10 minutes
- Category: More Fried Chicken
- Method: Frying
- Cuisine: Chinese
Nutrition
- Serving Size: 4
- Calories: 463 kcal
- Sugar: 68 g
- Sodium: 381 mg
- Fat: 7 g
- Saturated Fat: 1 g
- Unsaturated Fat: 5 g
- Trans Fat: 0 g
- Carbohydrates: 87 g
- Fiber: 1 g
- Protein: 40 g
- Cholesterol: 100 mg
Kaiden Poole
Co-Founder & Culinary Story Specialist
Expertise
Global Cuisine Inspiration, Cooking Techniques, Cross-Culture Fusion, Food Trends & Recipe Innovation, Flavor Storytelling, Food Writing, Creative Seasonal Menus
Education
- Program: Culinary Arts Certificate (Professional Cook 1 & 2)
- Focus: Fundamental kitchen techniques, food safety, menu planning, and real-world kitchen experience.
Online Gastronomy & Food Culture Courses (Various Platforms)Kaiden Poole brings global influence and culinary storytelling to the team. Based in Vancouver, BC, he earned his Culinary Arts Certificate from Vancouver Island University and expanded his knowledge through studies in gastronomy, nutrition, and sustainability. He focuses on cross-cultural flavors and creative fusion, crafting recipes that make international cuisine accessible to home cooks. For Kaiden, food is about curiosity, creativity, and connection around the table.