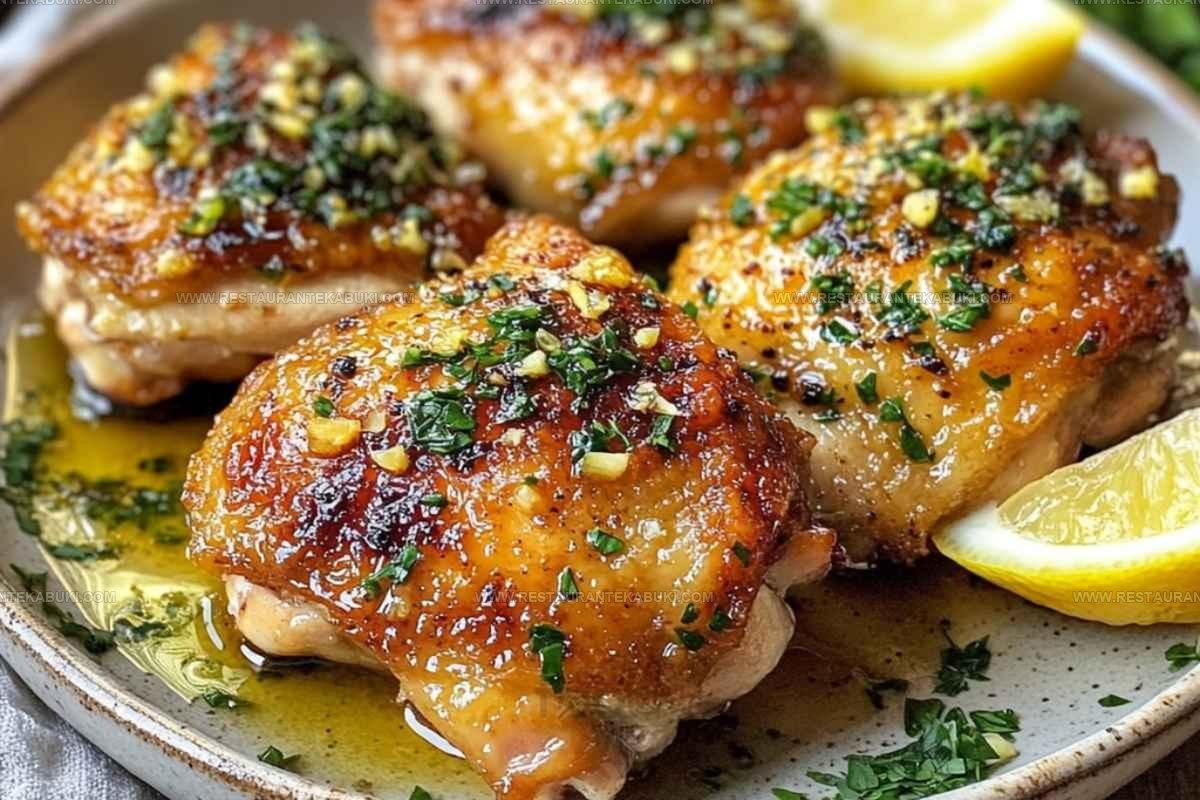
Crispy Garlic Butter Chicken Thighs Recipe for Dinner
Garlic butter chicken thighs recipe is pure comfort food that never goes out of style.
Rich, savory flavors come alive in every bite, making weeknight dinners feel special without demanding hours in the kitchen.
Everyone at the table will be asking for seconds before plates are even empty.
Juicy, tender results happen almost effortlessly, which makes mealtime stress disappear completely.
Restaurant vibes show up right in your own dining room when something so simple tastes so incredibly satisfying.
Home cooks everywhere love how reliably delicious and budget-friendly chicken thighs can be for any occasion.
It's time to give your dinner rotation the upgrade it deserves.
Delicious Highlights of Garlic Butter Chicken Thighs
Pantry Items for Garlic Butter Chicken Thighs
Main Protein:Cooking Fats And Seasonings:Finishing Touches:Garlic Butter Chicken Thighs Tool Checklist
Practical Cooking Guide for Garlic Butter Chicken Thighs
Dry And Season The Chicken
Start by patting your chicken thighs completely dry using paper towels-this helps them get nice and crispy when they hit the pan. Once they’re dry, sprinkle salt and pepper all over both sides of each piece.
Don’t be shy with your seasoning since this is your base flavor.
Heat Your Pan
Pour 2 tablespoons of olive oil into a large skillet and turn the heat to medium-high.
Let the oil get hot enough that it shimmers and moves easily around the pan-this takes about 2-3 minutes. Getting your pan properly hot makes a real difference in how your chicken cooks.
Sear The Chicken Skin Side Down
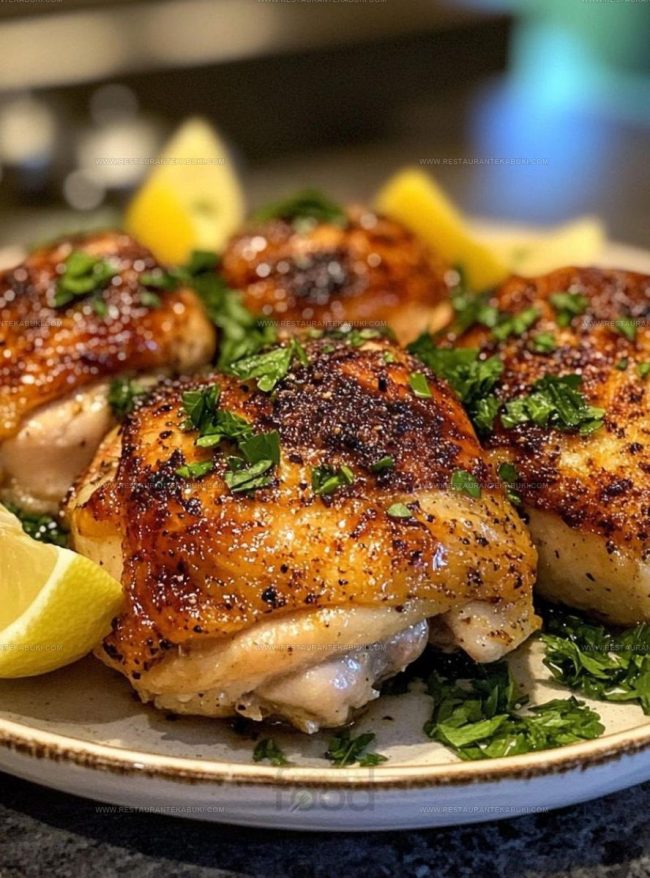
Carefully place your 4 chicken thighs skin-side down into the hot oil. Let them sit undisturbed for 5-7 minutes.
During this time, the skin will turn golden brown and crispy, and you’ll hear a nice sizzle that tells you things are working right. Don’t move them around or flip them early.
Cook The Other Side
Flip each thigh over using tongs and let the other side cook for 5 minutes. The meat side won’t get as golden as the skin, but it develops a nice light brown color and starts cooking through.
Build The Flavor Base
Turn your heat down to medium. Add the butter and garlic to the pan with these additional ingredients:
Stir everything together and let the butter melt.
The garlic becomes fragrant after about 30 seconds to 1 minute, and that’s when things really smell good.
Finish Cooking With The Sauce
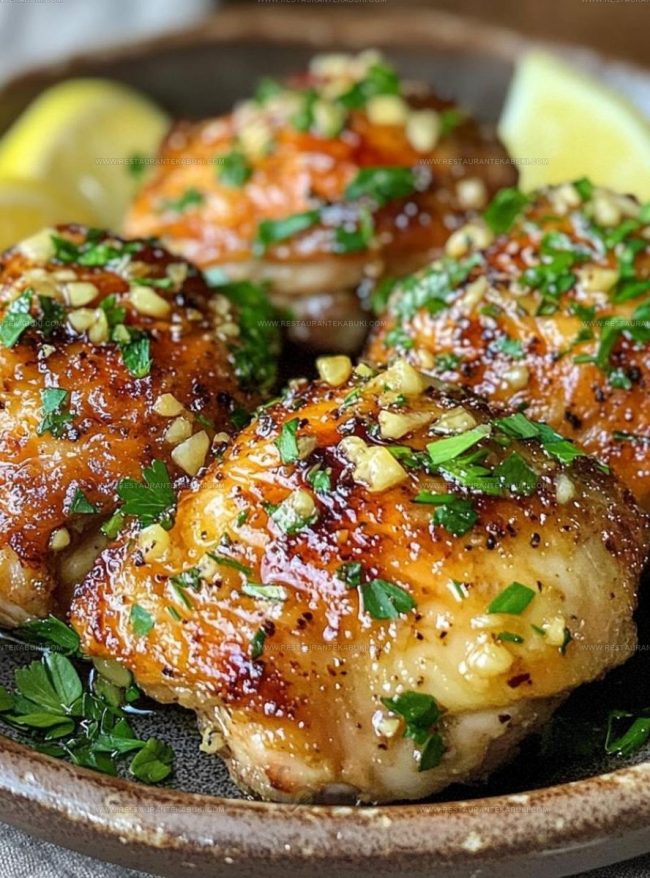
Keep the heat at medium and spoon that buttery garlic mixture over each chicken thigh several times.
Continue cooking for 5-10 minutes until the thickest part of the thigh reaches 165°F when measured with a meat thermometer. The internal temperature is what tells you the chicken is fully cooked and safe to eat.
Add The Final Touches
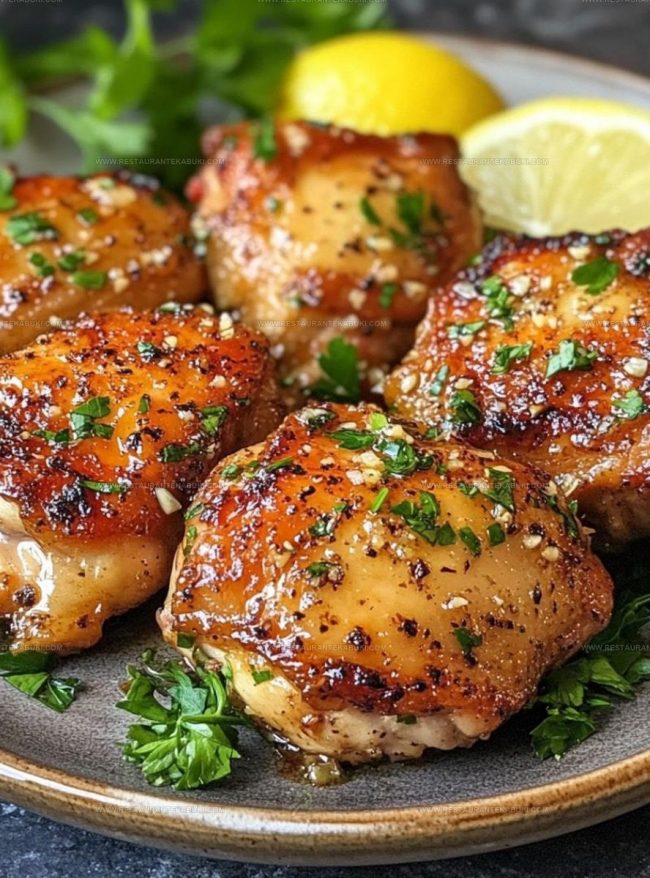
Squeeze fresh lemon juice from 1 lemon over the top of your chicken. Spoon some of that garlic butter sauce over each piece one more time to help carry all those flavors into the meat.
Scatter chopped fresh parsley over everything right before serving.
Tips to Make Garlic Butter Chicken Thighs Better
Creative Options for Garlic Butter Chicken Thighs
Garlic Butter Chicken Thighs Side Ideas
How to Store Garlic Butter Chicken Thighs Properly
FAQs
Why do I need to pat the chicken dry?
Patting removes moisture so the skin gets crispy and golden when seared. Wet chicken won’t brown properly.
Can I use chicken breasts instead of thighs?
Yes, but thighs stay juicier because they have more fat. Breasts cook faster, so watch them closely.
What if I don’t have fresh herbs?
Dried thyme and rosemary work fine-use about one-third the amount since dried herbs are stronger.
How do I know when the chicken is fully cooked?
Use a meat thermometer inserted into the thickest part without touching bone. It should read 165°F (75°C).
Can I make this in the oven instead of on the stovetop?
Yes, sear the chicken in a skillet first, then transfer to a 375°F (190°C) oven for 15-20 minutes until cooked through.
What if the garlic burns while cooking?
Lower your heat to medium or medium-low. Burnt garlic tastes bitter, so keep stirring and don’t let it sit without moving.

Garlic Butter Chicken Thighs Recipe
- Total Time: 20-27 minutes
- Yield: 4 1x
Description
Garlic butter chicken thighs is a simple weeknight dinner where you brown chicken in a skillet, then finish it with aromatic garlic and melting butter for a dish that’s both comforting and satisfying. Your table gets a meal that tastes restaurant-quality in under thirty minutes, no fuss required.
Ingredients
Protein:
- 4 pieces bone-in, skin-on chicken thighs
Cooking fat and seasonings:
- 2 tablespoons olive oil
- 4 tablespoons unsalted butter
- 4 cloves garlic, minced
- 1 teaspoon dried thyme
- 1 teaspoon dried rosemary
- salt and pepper to taste
Finishing touches:
- 1 piece lemon, juiced
- fresh parsley, chopped for garnish to taste
Instructions
- Pat your 4 chicken thighs dry with paper towels, then season each piece generously with salt and pepper on both sides.
- Pour 2 tablespoons of olive oil into a large skillet and heat it over medium-high heat until it shimmers.
- Place your chicken thighs skin-side down in the hot skillet and let them sear for 5 to 7 minutes at 375°F until the skin turns golden brown.
- Flip each thigh over and cook for 5 minutes more at the same temperature.
- Lower your heat to medium and add 4 tablespoons of unsalted butter along with 4 minced garlic cloves, 1 teaspoon dried thyme, and 1 teaspoon dried rosemary directly to the skillet.
- Stir everything together for about 1 minute at 350°F until the butter melts completely and the garlic becomes fragrant.
- Continuously spoon the garlic butter sauce over your chicken thighs for 5 to 10 minutes at 350°F until they reach an internal temperature of 165°F.
- Squeeze the juice from 1 lemon over your finished chicken and drizzle with the remaining butter sauce from the pan.
- Sprinkle your chopped fresh parsley across the top and transfer everything to your serving plate.
Notes
- Drying your chicken thighs thoroughly before searing helps them develop that golden, crispy skin that makes this dish so satisfying.
- Don’t skip the initial sear on high heat because it locks in flavor and creates the foundation for a restaurant-quality result.
- Keep the heat moderate once butter and garlic join the pan so the garlic toasts gently without burning and turning bitter.
- For a lighter version, swap half the butter for extra virgin olive oil and the dish tastes just as rich while reducing the fat content.
- Thighs are naturally forgiving since they stay moist even if cooking runs a few minutes longer, making them far more reliable than breast meat.
- Prep Time: 5 minutes
- Cook Time: 15-22 minutes
- Category: Sautéed Chicken
- Method: Sautéing
- Cuisine: American
Nutrition
- Serving Size: 4
- Calories: 330 kcal
- Sugar: 0.3 g
- Sodium: 140 mg
- Fat: 25 g
- Saturated Fat: 9 g
- Unsaturated Fat: 14 g
- Trans Fat: 0.1 g
- Carbohydrates: 1 g
- Fiber: 0.2 g
- Protein: 22 g
- Cholesterol: 110 mg
Kaiden Poole
Co-Founder & Culinary Story Specialist
Expertise
Global Cuisine Inspiration, Cooking Techniques, Cross-Culture Fusion, Food Trends & Recipe Innovation, Flavor Storytelling, Food Writing, Creative Seasonal Menus
Education
- Program: Culinary Arts Certificate (Professional Cook 1 & 2)
- Focus: Fundamental kitchen techniques, food safety, menu planning, and real-world kitchen experience.
Online Gastronomy & Food Culture Courses (Various Platforms)Kaiden Poole brings global influence and culinary storytelling to the team. Based in Vancouver, BC, he earned his Culinary Arts Certificate from Vancouver Island University and expanded his knowledge through studies in gastronomy, nutrition, and sustainability. He focuses on cross-cultural flavors and creative fusion, crafting recipes that make international cuisine accessible to home cooks. For Kaiden, food is about curiosity, creativity, and connection around the table.