
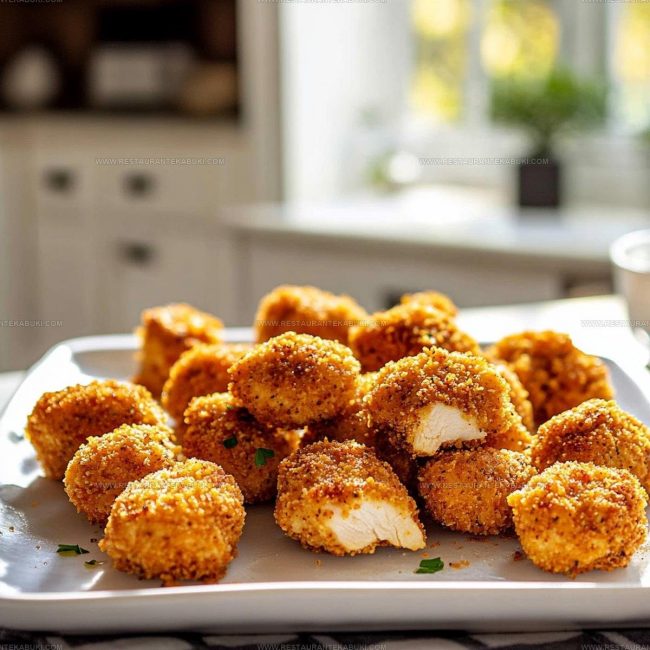
Baked Chicken Nuggets Recipe for a Crispy Family Dinner
Crunchy baked chicken nuggets recipe options are everywhere, but finding one that actually satisfies like the fried version can feel impossible.
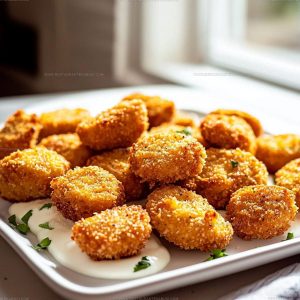
What makes a truly great homemade version is all about texture – that satisfying crunch on the outside paired with tender, juicy bites inside.
You can feel good about serving them because they come out of the oven instead of a deep fryer, cutting back on unnecessary fat while keeping all the flavor.
They work beautifully for busy weeknights when time is tight, game day spreads when crowds gather, or lunch boxes that need something better than cafeteria food.
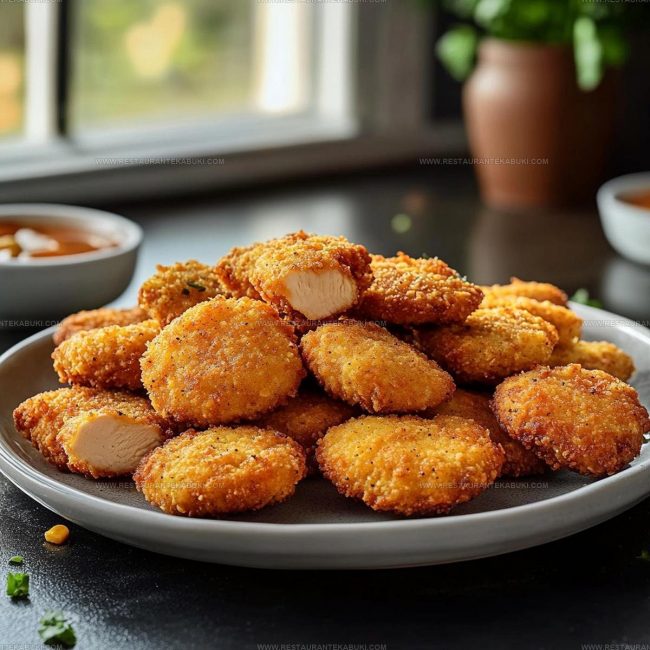
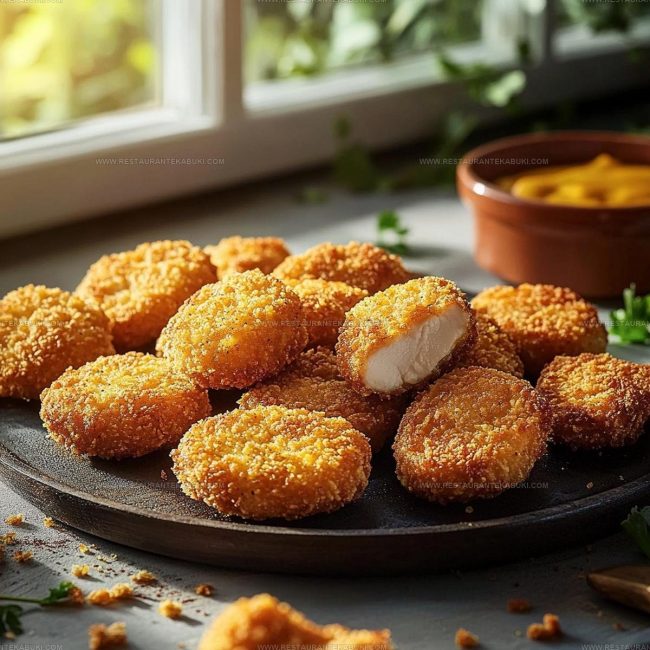
Dipping sauces are basically mandatory, and everyone always comes back for seconds.
Time to turn on that oven and make something the whole family will actually agree on.
Why Baked Chicken Nuggets Deserve a Spot
Ingredients Required for Baked Chicken Nuggets
Main Chicken Components:Coating And Flavoring:What Tools Are Used for Baked Chicken Nuggets
Easy Steps For Baked Chicken Nuggets
Get Your Oven Ready
Turn your oven on to 400°F and let it heat up while you prep everything else. Grab a baking sheet and set it aside on your counter.
Cut The Chicken Into Pieces
Take your 3 to 4 boneless, skinless chicken breasts and place them on a cutting board. Use a sharp knife to cut them into bite-sized nugget pieces. Don’t worry about making them perfectly uniform, but keeping them roughly the same size helps them cook evenly. Arrange the pieces on a clean plate.
Set Up Your Coating Station
You’ll need two shallow bowls for this part. In the first bowl, crack your 2 eggs and whisk them together with a fork until they’re well combined. In the second bowl, stir together the breadcrumbs and seasonings that work best for your taste. I usually use about 1 cup of breadcrumbs mixed with garlic powder and paprika, but feel free to adjust based on what flavors appeal to you.
Coat Each Piece
Take one piece of chicken and dip it into your egg mixture, making sure it gets fully coated. Let any excess drip back into the bowl, then transfer the piece to your breadcrumb mixture. Roll it around until the coating covers all sides, then place it on your baking sheet. Repeat this process with each piece until they’re all coated and arranged on the sheet.
Add Oil And Bake
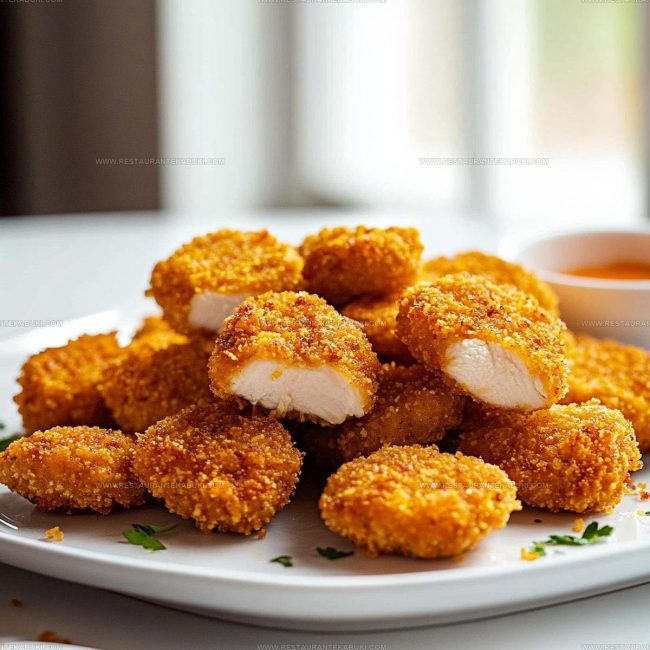
Drizzle your 2 tablespoons of olive oil over all the nuggets on the baking sheet. This helps them get crispy and golden as they bake. Slide the sheet into your 400°F oven and let them cook for 15 to 20 minutes, watching until they turn golden brown on the outside. Once they look cooked through and crispy, take them out and let them cool for a few minutes before serving.
Little Tweaks That Upgrade Baked Chicken Nuggets
How Can You Customize Baked Chicken Nuggets?
Crunchy Ways to Serve Baked Chicken Nuggets
Crunchy Storage Advice For Baked Chicken Nuggets
FAQs
Can I use frozen chicken instead of fresh?
Yes, frozen chicken works fine, but thaw it completely before cutting into pieces. Thawing helps the chicken cook evenly in your oven.
What if my breadcrumb coating falls off during baking?
Make sure your chicken pieces are dry before dipping them in egg. Excess moisture causes the coating to slip off, so pat them down with paper towels first.
Do I need to flip the nuggets halfway through baking?
You don’t have to flip them, but turning them over halfway helps both sides get equally golden and crispy on your baking sheet.
Can I make these nuggets ahead of time?
Absolutely, you can coat your chicken pieces several hours before baking and keep them in the fridge. Just add a few extra minutes to the baking time if they’re cold when they go in your oven.
How do I know when the chicken is fully cooked inside?
Check that the thickest piece reaches 165°F with a meat thermometer, or cut into the largest nugget to make sure there’s no pink in the center.
What breadcrumbs work best for your nuggets?
Panko breadcrumbs give you a crunchier texture than regular breadcrumbs, but either type works well in this recipe.
Crunchy Baked Chicken Nuggets Recipe
- Total Time: 25-30 minutes
- Yield: 4 1x
Description
These baked chicken nuggets come together when you pound chicken breasts thin, coat them in seasoned breadcrumbs, and let the oven do the work for crispy results without the oil. Your family gets all the satisfaction of a favorite comfort food, but it’s the healthier version that actually fits into how you eat at home.
Ingredients
Protein base:
- 3 boneless, skinless chicken breasts
Coating and binder:
- 1 cup breadcrumbs
- 2 eggs
Seasoning and cooking:
- 2 tablespoons olive oil
- 1 tablespoon garlic powder
- 1 tablespoon paprika
Instructions
- Heat your oven to 400°F and line a baking sheet with parchment paper while it preheats.
- Take your 3 to 4 chicken breasts and cut them into bite-sized nugget pieces.
- Crack 2 eggs into a shallow bowl and whisk them together until combined.
- Pour 1 cup of breadcrumbs into another shallow bowl and mix in your seasonings like garlic powder and paprika.
- Dip each chicken piece into the egg mixture, making sure it’s fully coated on all sides.
- Roll your egg-coated chicken immediately in the breadcrumb mixture until it’s completely covered.
- Place each breaded nugget on your prepared baking sheet in a single layer.
- Drizzle 2 tablespoons of olive oil over all your nuggets, coating them lightly.
- Bake at 400°F for 15 to 20 minutes until your nuggets turn golden brown and crispy on the outside.
- Remove from the oven and let your nuggets cool for a few minutes before serving.
Notes
- Patting your chicken pieces dry before dipping them helps the egg coating stick better and creates a crispier exterior.
- If your breadcrumbs seem plain, mix in garlic powder, paprika, or Italian seasoning to boost flavor throughout the nuggets.
- For a gluten-free version, swap regular breadcrumbs with panko made from gluten-free bread or crushed gluten-free cereal for the same golden crunch.
- Placing your baking sheet on the middle oven rack ensures even browning on all sides without the bottoms burning.
- Prep Time: 10 minutes
- Cook Time: 15-20 minutes
- Category: Baked Chicken
- Method: Baking
- Cuisine: American
Nutrition
- Serving Size: 4
- Calories: 290 kcal
- Sugar: 1 g
- Sodium: 350 mg
- Fat: 14 g
- Saturated Fat: 3 g
- Unsaturated Fat: 10 g
- Trans Fat: 0 g
- Carbohydrates: 18 g
- Fiber: 1.5 g
- Protein: 28 g
- Cholesterol: 110 mg
Kaiden Poole
Co-Founder & Culinary Story Specialist
Expertise
Global Cuisine Inspiration, Cooking Techniques, Cross-Culture Fusion, Food Trends & Recipe Innovation, Flavor Storytelling, Food Writing, Creative Seasonal Menus
Education
- Program: Culinary Arts Certificate (Professional Cook 1 & 2)
- Focus: Fundamental kitchen techniques, food safety, menu planning, and real-world kitchen experience.
Online Gastronomy & Food Culture Courses (Various Platforms)Kaiden Poole brings global influence and culinary storytelling to the team. Based in Vancouver, BC, he earned his Culinary Arts Certificate from Vancouver Island University and expanded his knowledge through studies in gastronomy, nutrition, and sustainability. He focuses on cross-cultural flavors and creative fusion, crafting recipes that make international cuisine accessible to home cooks. For Kaiden, food is about curiosity, creativity, and connection around the table.