Crunchy Popcorn Chicken Recipe for Game Day Snacking
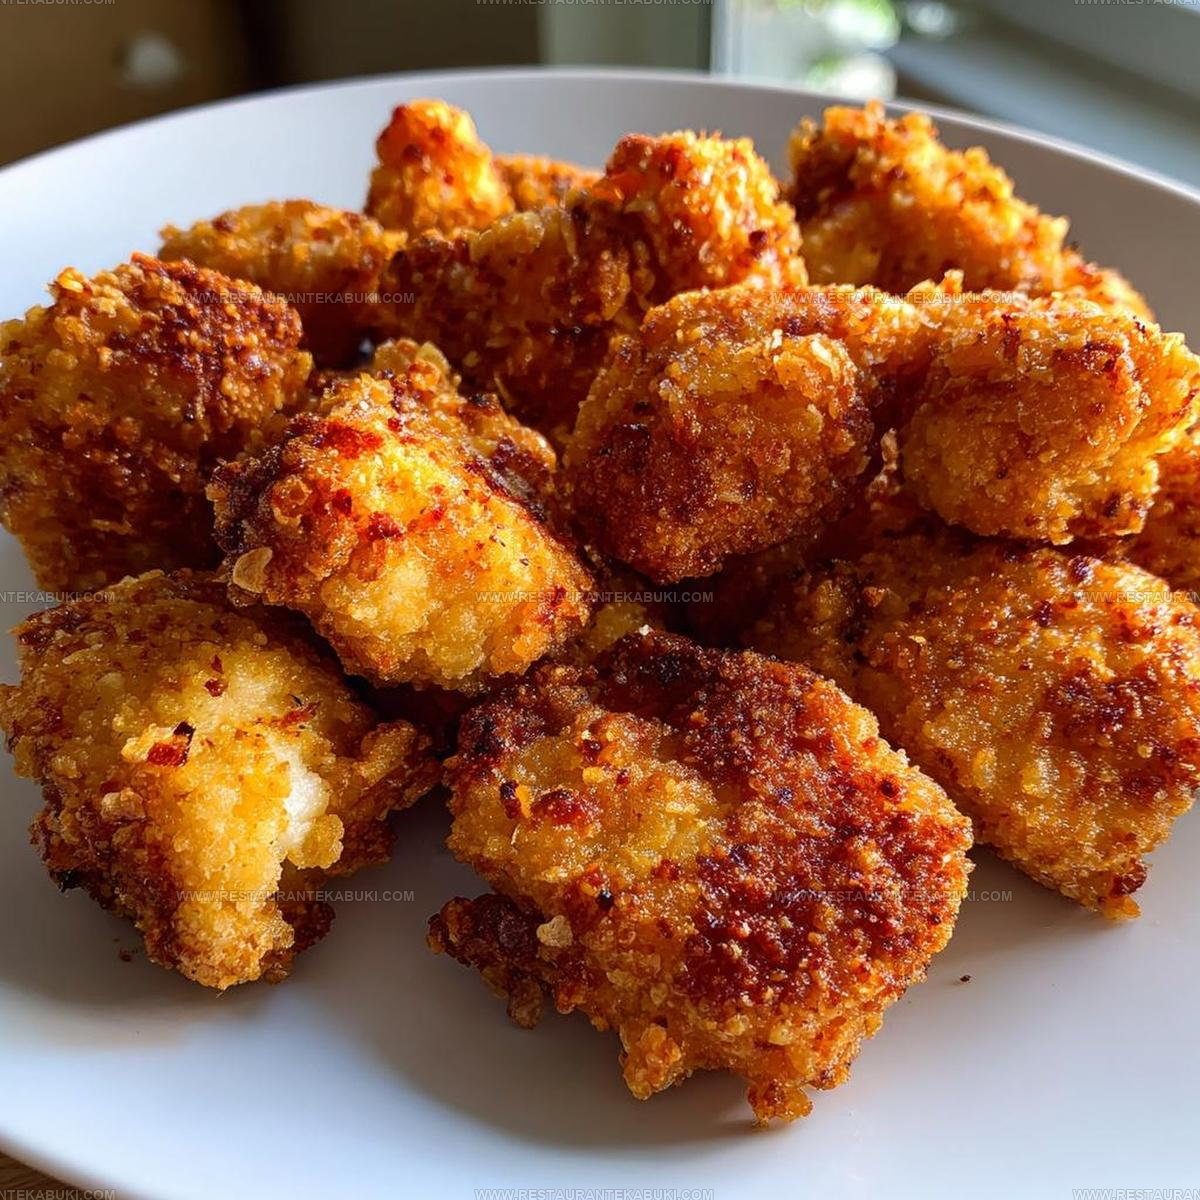
Crispy popcorn chicken is comfort food that wins over everyone at the table with its golden, crunchy coating and tender bite-sized pieces.
Perfect for game day gatherings, weeknight dinners, or casual parties, it never fails to disappear fast from any serving platter.
The appeal lies in how fun and shareable it becomes, making mealtime feel relaxed and satisfying without any fuss.
Kids go wild for it, while grown-ups appreciate having something delicious that pairs well with practically any dipping sauce.
When you want crowd-pleasing food that feels both familiar and exciting, few options compare to this classic favorite.
It works beautifully as a main course, snack, or appetizer depending on the occasion.
Time to roll up your sleeves and make something everyone will devour within minutes.
What Makes Crispy Popcorn Chicken So Satisfying?
Which Ingredients Shape Popcorn Chicken
Chicken Base:Dry Coating Mix:Wet Coating:Cooking Base:Which Tools Work Best for Popcorn Chicken
How To Prepare Crispy Popcorn Chicken
Prepare Your Coating Mix
Combine your dry ingredients in a shallow bowl so everything is ready when your chicken needs coating. For this step, gather:
Stir these together with a fork until the spices distribute evenly throughout the flour. This prevents any clumpy spots in your coating.
Create Your Wet Mixture
In a separate bowl, beat together your wet ingredients until they’re combined and smooth. Use:
Whisk these with a fork for about 30 seconds until they’re well blended. This mixture helps the coating stick to each piece of chicken.
Cut Your Chicken
Take 1 lb of chicken breast and cut it into bite-sized pieces, roughly the size of your thumb. The uniform pieces help everything cook at the same rate, so your batch finishes together.
Coat Each Piece
Take each piece of chicken from your cutting board and dip it into the egg and milk mixture, making sure it gets fully coated. Then immediately transfer it to your flour mixture and roll it around until every side has a light coating. The egg mixture acts as glue, helping the flour stick properly to the chicken.
Heat Your Oil
Pour enough oil into a pan to come about halfway up the sides, then place it over medium heat. Let it sit for about 2 to 3 minutes so the temperature reaches around 350°F. Test the oil by dropping a tiny pinch of flour into it, if it sizzles right away, your oil is ready.
Fry Your Chicken
Carefully place your coated chicken pieces into the hot oil, working in batches so the pan doesn’t get overcrowded. Each piece needs space around it to cook properly. Fry for 3 to 4 minutes total, stirring occasionally so each side gets golden and crispy. The chicken is done when the coating turns a rich golden brown color.
Drain And Rest
Transfer your finished chicken pieces onto a clean plate lined with paper towels so excess oil drains away. Let them sit there for a minute or two while they cool slightly. Serve them while they’re still warm and crispy.
How To Enhance Crispy Popcorn Chicken
Different Ways to Change Crispy Popcorn Chicken
Creative Ways to Plate Popcorn Chicken
How To Store Crispy Popcorn Chicken After Cooking
FAQs
What size should I cut the chicken into?
Cut your chicken into bite-sized pieces, about 1 to 1.5 inches. Smaller pieces cook faster and get crispier on the outside while staying juicy inside.
Can I use chicken breasts instead of thighs?
Yes, chicken breasts work fine, but thighs stay more tender and flavorful since they have more fat. Either one gives good results with this recipe.
How hot should the oil be?
Keep your heat at medium so the outside gets golden and crispy without burning while the inside cooks through. If the oil smokes, it’s too hot.
What if my chicken pieces aren’t getting crispy?
Make sure your oil is hot enough and don’t crowd the pan. Cook in batches if needed, leaving space between each piece so they fry properly.
Can I prepare the chicken ahead of time?
Coat your chicken pieces up to 2 hours before frying and keep them in the fridge. This actually helps the coating stick better when you cook.
What’s the best way to keep the coating from falling off?
Pat your chicken dry before dipping it in the egg mixture. Wet chicken makes the coating slide off during frying.
Crispy Popcorn Chicken Recipe
- Total Time: 14 minutes
- Yield: 4 1x
Description
Crispy popcorn chicken comes together in just 30 minutes with a simple breading technique that gives you those golden, crunchy bites you can’t stop eating. Seasoned flour and panko coating create the perfect texture, so serving them with your favorite dipping sauce makes for a satisfying meal that works anytime.
Ingredients
Protein Base:
- 1 lb chicken breast, cut into small pieces
- 1 egg
- 1/2 cup milk
Dry Coating:
- 1 cup flour
- 1 teaspoon salt
- 1 teaspoon black pepper
- 1 teaspoon paprika
- 1 teaspoon garlic powder
Cooking:
- Oil for frying
Instructions
- Combine 1 cup flour, 1 teaspoon salt, 1 teaspoon black pepper, 1 teaspoon paprika, and 1 teaspoon garlic powder in a bowl, stirring everything together until the spices distribute evenly throughout your flour mixture.
- Whisk together 1 egg and 1/2 cup milk in a separate bowl until the mixture becomes smooth and combined.
- Take your 1 pound of chicken breast pieces and dip each one into the egg and milk mixture, making sure they’re fully coated on all sides.
- Roll each coated chicken piece in your flour mixture, pressing gently so the coating adheres to the surface and creates an even layer.
- Heat oil for frying in a pan over medium heat until it reaches approximately 350 degrees Fahrenheit.
- Place your coated chicken pieces into the hot oil carefully, working in batches so you don’t crowd the pan.
- Fry for about 3 to 4 minutes at medium heat, stirring occasionally to ensure each piece browns evenly on all sides and achieves that golden-brown color.
- Use a slotted spoon to transfer your cooked chicken pieces onto a paper towel-lined plate where the excess oil can drain away.
- Serve your chicken pieces while they’re still hot and the coating remains at its crispiest.
Notes
- Let your oil reach the right temperature before adding chicken, since pieces that go in too early will absorb excess oil and turn out greasy instead of crispy.
- Pat your chicken dry with paper towels before dipping it in the egg mixture, which helps the coating stick better and creates that satisfying crunch.
- For a gluten-free version, swap regular flour with rice flour or cornstarch, and the chicken will crisp up just as well.
- Keep your coated chicken pieces on a separate plate before frying so the coating doesn’t slide off when pieces touch each other in the pan.
- Prep Time: 10 minutes
- Cook Time: 4 minutes
- Category: More Fried Chicken
- Method: Frying
- Cuisine: American
Nutrition
- Serving Size: 4
- Calories: 320 kcal
- Sugar: 0 g
- Sodium: 450 mg
- Fat: 12 g
- Saturated Fat: 3 g
- Unsaturated Fat: 8 g
- Trans Fat: 0 g
- Carbohydrates: 20 g
- Fiber: 1 g
- Protein: 35 g
- Cholesterol: 75 mg
Kaiden Poole
Co-Founder & Culinary Story Specialist
Expertise
Global Cuisine Inspiration, Cooking Techniques, Cross-Culture Fusion, Food Trends & Recipe Innovation, Flavor Storytelling, Food Writing, Creative Seasonal Menus
Education
- Program: Culinary Arts Certificate (Professional Cook 1 & 2)
- Focus: Fundamental kitchen techniques, food safety, menu planning, and real-world kitchen experience.
Online Gastronomy & Food Culture Courses (Various Platforms)Kaiden Poole brings global influence and culinary storytelling to the team. Based in Vancouver, BC, he earned his Culinary Arts Certificate from Vancouver Island University and expanded his knowledge through studies in gastronomy, nutrition, and sustainability. He focuses on cross-cultural flavors and creative fusion, crafting recipes that make international cuisine accessible to home cooks. For Kaiden, food is about curiosity, creativity, and connection around the table.