
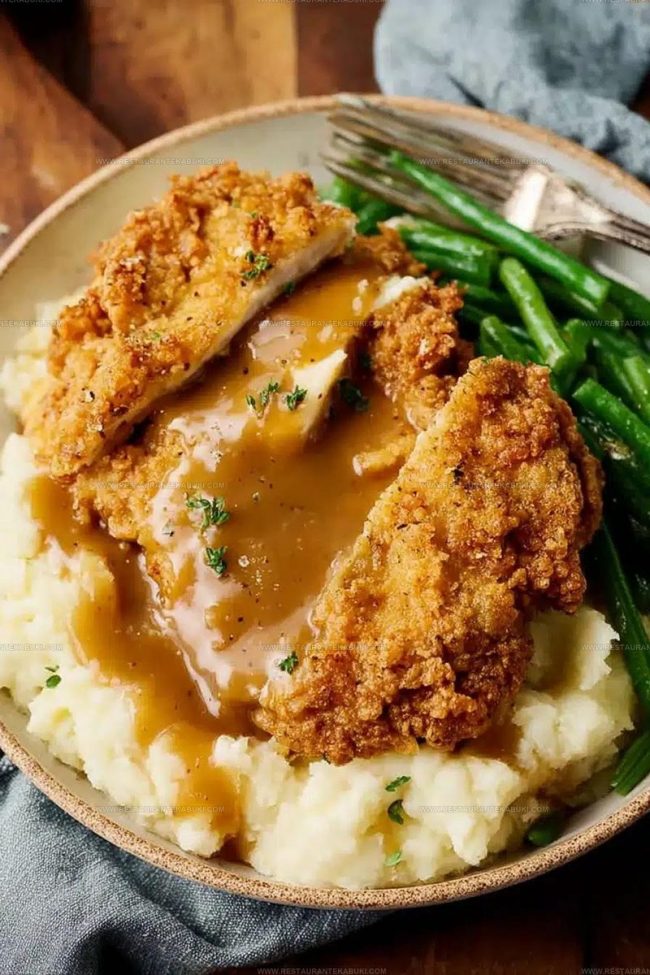
Country Fried Chicken Recipe That Delivers Restaurant-Quality Crunch At Home
Country fried chicken recipe fans know there's something special about golden, crispy coating paired with tender, juicy meat that makes any meal feel like a celebration.
Comfort food at its finest, it's a dish that turns ordinary dinners into memorable occasions without requiring fancy skills or hard-to-find items.
The satisfying crunch and savory flavors appeal to anyone looking for a hearty, filling plate that feels like home.
Perfect for weeknight suppers or weekend gatherings, it brings people together around something simple yet deeply satisfying.
No matter the season or occasion, it remains a reliable choice when you want food that feels both familiar and exciting.
Southern kitchens have perfected this classic over generations, and now anyone can recreate that same delicious experience.
Roll up your sleeves and prepare for a meal that proves sometimes the simplest dishes are the most satisfying.
Why Country Fried Chicken Works So Well
Country Fried Chicken Recipe Ingredients
Main Protein:Wet Mixture:Breading:Frying:Country Fried Chicken Tools for Easy Prep
Steps To Cook Country Fried Chicken

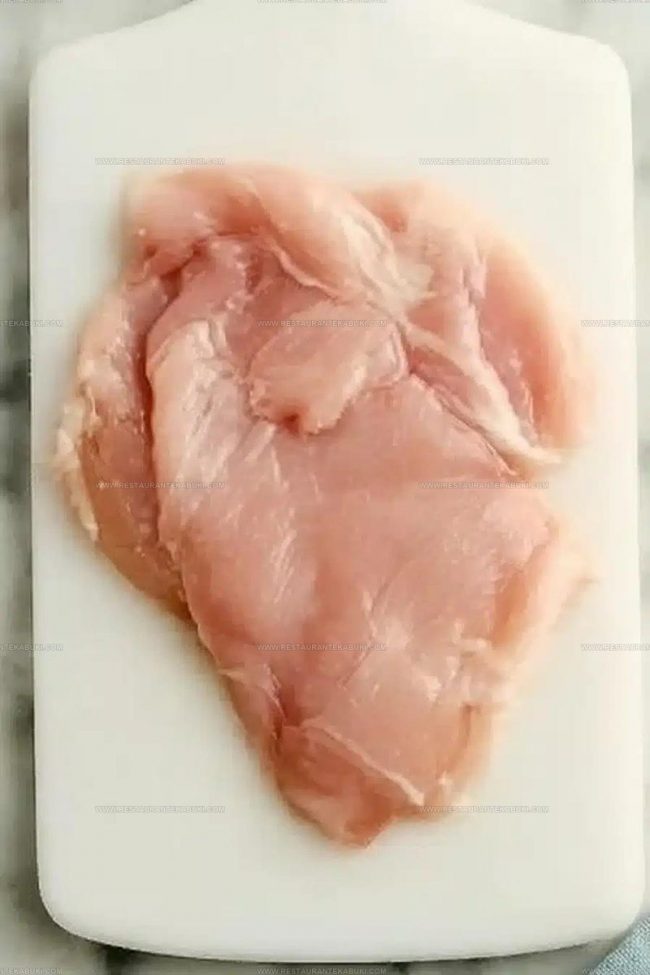
Prepare The Chicken
Take your 4 boneless, skinless chicken breasts and place them on a cutting board. Use a meat mallet to pound each breast until it’s about ½ inch thick all over – this helps them cook evenly. Pat the chicken dry with paper towels so the coating will stick better later.
Make The Soaking Liquid
In a bowl, combine these ingredients together:
Whisk everything together until smooth and well blended.
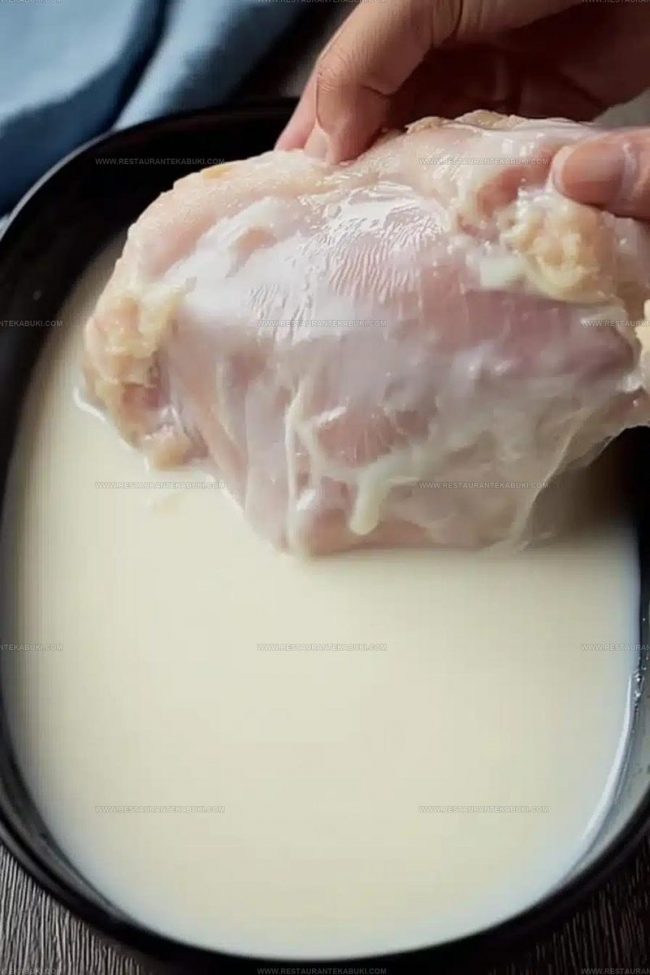
Soak The Chicken
Place your prepared chicken pieces into the buttermilk mixture. Make sure each piece gets fully covered by the liquid. Cover the bowl and refrigerate for 1 to 2 hours, though overnight works even better if your schedule allows it.
Bring Chicken To Room Temperature
Remove your chicken from the refrigerator and let it sit on the counter for 25 to 30 minutes. This step matters because it helps the pieces cook through evenly when they hit the hot oil.
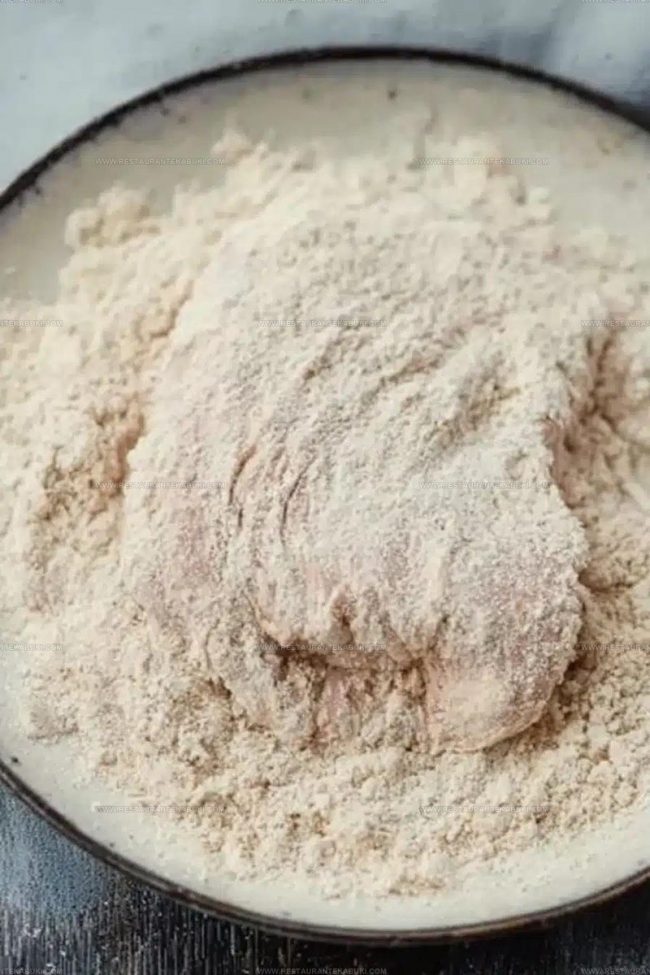
Mix Your Coating
In a separate bowl, combine all your breading ingredients together:
Stir everything together until the seasonings are distributed throughout the flour mixture.
Heat The Oil
Pour 1½ cups vegetable oil into your cast iron skillet and place it over medium-high heat. Use a thermometer to check the temperature – when it reaches 350°F, the oil is ready for frying.
Coat The Chicken
Take one piece of chicken from the buttermilk mixture and let the excess liquid drip back into the bowl. Dredge the chicken through your breading mixture, pressing gently so the coating sticks to all sides. Place it on a clean plate. Repeat with the remaining chicken pieces.
Fry The First Side
Carefully place the coated chicken pieces into the hot oil. Fry them for 4 to 5 minutes until the bottom side turns golden brown. Avoid moving them around too much while they cook.
Fry The Second Side
Flip each piece over with tongs and fry for another 4 to 5 minutes until the second side is also golden brown and the chicken is cooked through.
Drain And Rest
Transfer the fried chicken to a wire rack set over a baking sheet. This allows any excess oil to drain away while the chicken rests. Let the pieces sit for a few minutes before serving so they cool slightly and stay crispy.
Practical Advice For Country Fried Chicken
Creative Alternatives for Country Fried Chicken
Thoughtful Pairings for Country Fried Chicken
Smart Ways To Store Country Fried Chicken
FAQs
Can I skip the buttermilk marinade?
The buttermilk and egg mixture keeps your chicken tender and juicy inside while helping the coating stick better. Skipping it means drier meat and a less crispy crust, so the marinade really does make a difference.
What if I don’t have a cast iron skillet?
Cast iron holds heat evenly and keeps your oil at a steady temperature, which gives you that perfect golden crust. A heavy-bottomed pot or Dutch oven works as a substitute, though the results may vary slightly.
How do I know when the oil is ready?
Use a cooking thermometer to check that your oil reaches 350°F before adding chicken. If you don’t have one, drop a small piece of bread into the oil – it should turn golden brown in about 60 seconds.
Why does the recipe say to bread the chicken right before frying?
Breading ahead of time lets moisture seep in and makes the coating soggy. Coating just before frying keeps everything crispy and gives you that satisfying crunch.
Do I need to pat the chicken completely dry?
Yes. Excess moisture on the surface stops the coating from sticking properly and creates steam that prevents browning. Taking a moment to dry each piece makes a real difference in texture.
Country Fried Chicken Recipe
- Total Time: 1 hour 38-40 minutes
- Yield: 4 1x
Description
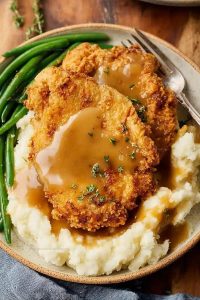
Country fried chicken brings crispy, golden-brown chicken to your dinner table with a simple breading technique and pan-frying method that gives you tender, juicy meat inside every time. Your family gets restaurant-quality results at home when you dredge the cutlets in seasoned flour and cook them until they’re perfectly browned and cooked through.
Ingredients
Protein:
- 4 boneless, skinless chicken breasts
- 2 large eggs, whisked
Wet Coating:
- 2 cups buttermilk
- 1.5 cups vegetable oil
Dry Coating:
- 1.5 cups all-purpose flour
- 0.5 cup plain or Italian breadcrumbs
- 2.5 teaspoons seasoned salt
- 3 teaspoons salt
- 1.5 teaspoons black pepper
- 0.75 teaspoon paprika
- 0.5 teaspoon cayenne pepper
Instructions
- Pound your 4 boneless, skinless chicken breasts to ½ inch thickness, then pat them dry with paper towels.
- Whisk together 2 cups buttermilk, 2 large eggs, and 3 teaspoons salt in a bowl until combined.
- Submerge your chicken pieces in the buttermilk mixture and refrigerate for 1 to 2 hours, or leave them overnight if your schedule allows.
- Remove your chicken from the refrigerator 25 to 30 minutes before frying so it reaches room temperature.
- In a separate bowl, combine 1½ cups all-purpose flour, ½ cup breadcrumbs, 2½ teaspoons seasoned salt, ¾ teaspoon paprika, ½ teaspoon cayenne pepper, and 1½ teaspoons black pepper.
- Heat 1½ cups vegetable oil to 350°F in your cast iron skillet.
- Coat each chicken breast with your breading mixture right before it enters the hot oil, shaking off any excess coating.
- Place your chicken into the hot oil and fry for 4 to 5 minutes on the first side until golden brown.
- Flip your chicken and fry for 4 to 5 minutes more until the second side turns golden brown and the internal temperature reaches 165°F.
- Transfer your cooked chicken to a wire rack so the excess oil drains away while it rests before serving.
Notes
- Pounding your chicken to an even thickness helps it cook uniformly so no piece ends up dry while another stays undercooked.
- Letting your breaded chicken rest at room temperature for about 25 minutes before it hits the hot oil makes a real difference in how crispy the coating gets.
- Drain your fried chicken on a wire rack instead of paper towels so air circulates underneath and keeps the bottom from getting soggy.
- If your family follows a gluten-free diet, swap regular flour for a gluten-free all-purpose blend in the breading mixture and the results stay just as crunchy.
- Prep Time: 1 hour 30 minutes
- Cook Time: 8-10 minutes
- Category: More Fried Chicken
- Method: Frying
- Cuisine: American
Nutrition
- Serving Size: 4
- Calories: 590 kcal
- Sugar: 1 g
- Sodium: 1950 mg
- Fat: 38 g
- Saturated Fat: 7 g
- Unsaturated Fat: 29 g
- Trans Fat: 0.5 g
- Carbohydrates: 30 g
- Fiber: 2 g
- Protein: 45 g
- Cholesterol: 165 mg
Kaiden Poole
Co-Founder & Culinary Story Specialist
Expertise
Global Cuisine Inspiration, Cooking Techniques, Cross-Culture Fusion, Food Trends & Recipe Innovation, Flavor Storytelling, Food Writing, Creative Seasonal Menus
Education
- Program: Culinary Arts Certificate (Professional Cook 1 & 2)
- Focus: Fundamental kitchen techniques, food safety, menu planning, and real-world kitchen experience.
Online Gastronomy & Food Culture Courses (Various Platforms)Kaiden Poole brings global influence and culinary storytelling to the team. Based in Vancouver, BC, he earned his Culinary Arts Certificate from Vancouver Island University and expanded his knowledge through studies in gastronomy, nutrition, and sustainability. He focuses on cross-cultural flavors and creative fusion, crafting recipes that make international cuisine accessible to home cooks. For Kaiden, food is about curiosity, creativity, and connection around the table.