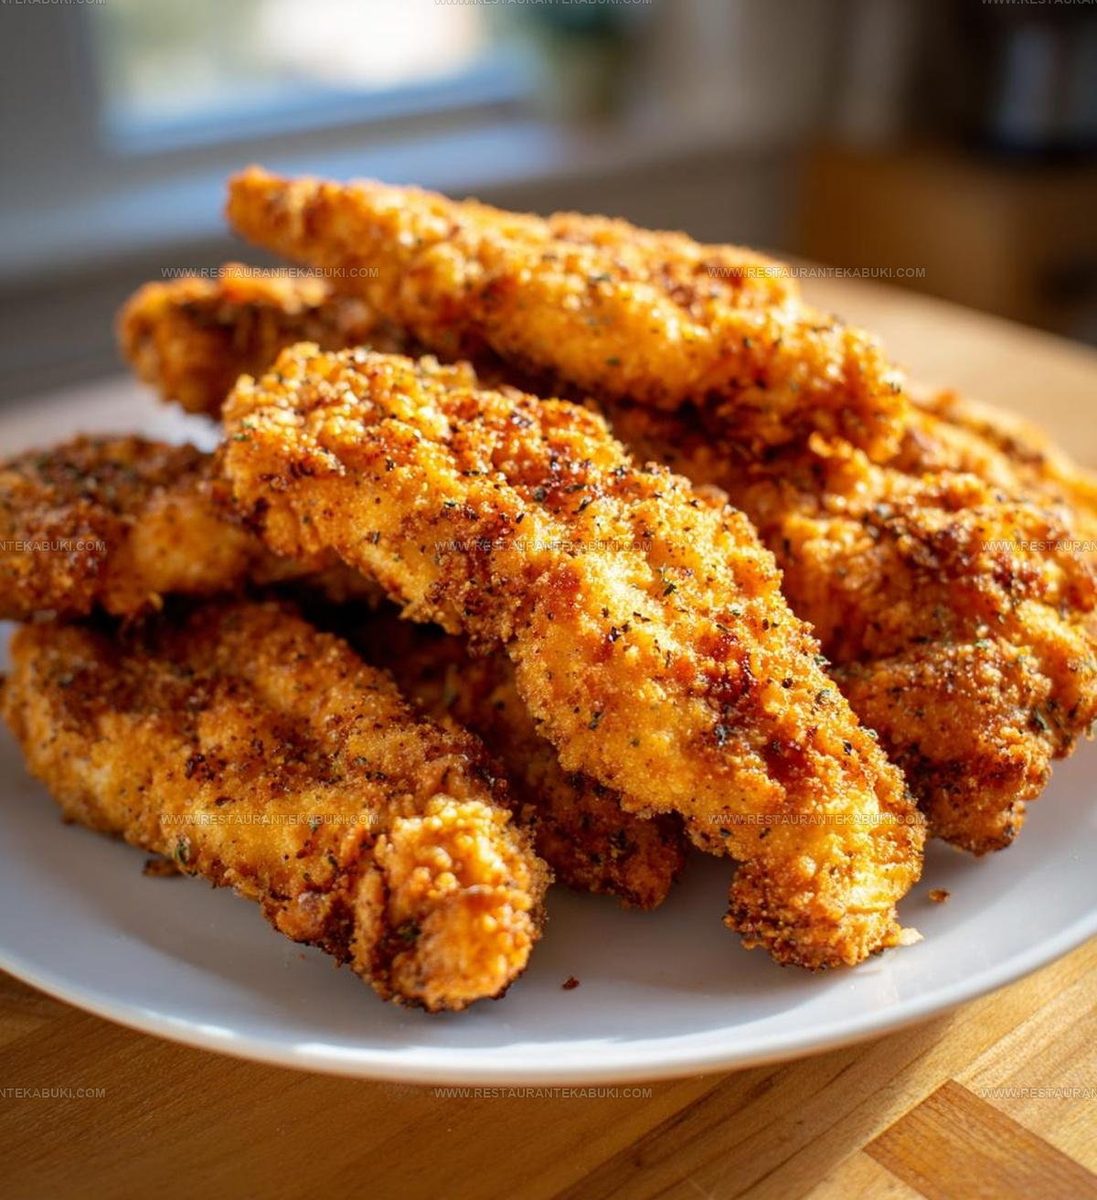
Crispy Cool Ranch Chicken Tenders Recipe for Dinner
Cool ranch chicken tenders recipe lovers know that coating juicy poultry in bold, tangy seasoning creates one of the most craveable comfort foods around.
This dish takes familiar flavors and turns them into something fun for lunch, dinner, or game day gatherings.
Everyone reaches for seconds when crispy, golden strips arrive at the table with that signature ranch taste baked right in.
The appeal spans generations, making it perfect for casual weeknight meals or weekend celebrations.
No matter the occasion, serving up something familiar yet exciting always wins over a crowd.
Preparation comes together quickly, so you can focus on enjoying time with loved ones instead of spending hours in the kitchen.
Check out the full recipe below and see just how simple satisfying homemade meals can be.
Best Things About Cool Ranch Chicken Tenders
Cool Ranch Chicken Tenders Ingredient Breakdown
Main Protein:Wet Coating:Dry Coating:Helpful Tools for Preparing Cool Ranch Chicken Tenders
Complete Guide to Making Cool Ranch Chicken Tenders
Heat Your Oven
Set your oven to 400°F and let it warm up while you prep everything else. This temperature is key for getting the chicken crispy on the outside and cooked through on the inside.
Soak The Chicken
Pour 1 cup of buttermilk into a bowl and place your 1 lb of chicken tenders into it. Make sure each piece gets coated in the buttermilk.
Let them sit for at least 30 minutes so the chicken absorbs all that tangy flavor and gets tender.
Make Your Coating Mix
In a separate bowl, combine your dry ingredients for the coating:
Stir everything together with a fork until the ingredients are evenly distributed throughout.
Coat Each Tender
Take one chicken tender out of the buttermilk and let any excess drip off. Roll it in your breadcrumb mixture, pressing gently so the coating sticks to the chicken.
Do this for each piece and set them aside on a clean plate as you go.
Arrange On A Baking Sheet
Line a baking sheet with parchment paper and arrange your coated tenders on it in a single layer.
Make sure they’re not touching each other so the heat can circulate around each piece evenly.
Bake Until Golden
Place your sheet in the 400°F oven for 20 to 25 minutes.
The chicken is done when the coating turns golden brown and the internal temperature reaches 165°F.
Rest And Serve
Take the tenders out of the oven and let them cool for a few minutes before serving.
This gives the coating a chance to firm up. Serve them while they’re still warm with whatever dipping sauce sounds good to you.
Expert Cooking Tips for Cool Ranch Chicken Tenders
Simple Changes for Cool Ranch Chicken Tenders
Cool Ranch Chicken Tenders Plating Ideas
How to Reheat Cool Ranch Chicken Tenders
FAQs
Can I skip the buttermilk soak?
The buttermilk makes the chicken tender and juicy inside while helping the coating stick better. If you don’t have buttermilk, mix regular milk with a tablespoon of lemon juice or vinegar and let it sit for five minutes before using it.
What if I don’t have parchment paper?
You can use foil instead or lightly grease your baking sheet with cooking spray. The parchment just keeps cleanup easier, but it’s not required.
How do I know when the chicken is fully cooked?
The internal temperature should reach 165°F (74°C) at the thickest part. You can also cut into the largest piece to check that there’s no pink inside.
Can I use a different type of breadcrumb?
Yes, panko breadcrumbs work great and give a crunchier coating. Regular breadcrumbs work fine too, and you can even use crushed crackers for a different texture.
Why is my coating not crispy?
Make sure your oven is fully preheated before baking. Also, don’t move the tenders around on the baking sheet while they cook-let them stay in one spot to get crispy.
Can I coat the chicken ahead of time?
Yes, coat them and refrigerate for up to 24 hours before baking. Just add a few extra minutes to the cooking time if they’re cold when they go in.

Cool Ranch Chicken Tenders Recipe
- Total Time: 55 minutes-1 hour
- Yield: 4 1x
Description
Cool ranch chicken tenders give you a crispy, flavorful dinner that comes together fast with pantry staples and a simple coating method. Your family gets tender, juicy chicken with that classic ranch kick in under thirty minutes from start to finish.
Ingredients
Protein:
- 1 pound chicken tenders
Wet ingredients:
- 1 cup buttermilk
Dry ingredients and seasonings:
- 1 cup breadcrumbs
- 1 packet ranch seasoning mix
- 1 teaspoon garlic powder
- 1 teaspoon onion powder
- 0.5 teaspoon paprika
- 0.5 teaspoon salt
- 0.25 teaspoon black pepper
Instructions
- Heat your oven to 400°F and let it reach temperature while you prepare everything else.
- Pour 1 cup of buttermilk into a bowl and submerge your 1 lb of chicken tenders, making sure they’re fully covered, then refrigerate for at least 30 minutes.
- Combine 1 cup breadcrumbs, 1 packet of ranch seasoning mix, 1 tsp garlic powder, 1 tsp onion powder, 1/2 tsp paprika, 1/2 tsp salt, and 1/4 tsp black pepper in a shallow dish and mix everything together thoroughly.
- Take each buttermilk-soaked tender and press it into your breadcrumb mixture, coating all sides evenly before placing it on a parchment-lined baking sheet.
- Once your tenders are arranged on the sheet, slide them into the 400°F oven for 20-25 minutes until the coating turns golden and the chicken reaches an internal temperature of 165°F.
- Let your tenders cool for a few minutes on the baking sheet so the coating sets properly.
- Transfer your finished tenders to a serving plate and pair them with whatever dipping sauce appeals to you most.
Notes
- Soaking the chicken in buttermilk for the full 30 minutes tenderizes the meat and helps the coating stick better, so don’t skip this step even if time feels tight.
- For extra crispy tenders, spray or brush the coated chicken lightly with cooking oil before baking since the oil helps the breadcrumbs brown more evenly.
- If your family follows a gluten-free diet, swap regular breadcrumbs for gluten-free versions and the tenders turn out just as crispy and delicious.
- Check that the thickest part of the chicken reaches 165°F with a meat thermometer to ensure it’s fully cooked, since oven temperatures can vary and baking times shift based on how thick your tenders are.
- Prep Time: 35 minutes
- Cook Time: 20-25 minutes
- Category: More Fried Chicken
- Method: Baking
- Cuisine: American
Nutrition
- Serving Size: 4
- Calories: 331 kcal
- Sugar: 2 g
- Sodium: 850 mg
- Fat: 8 g
- Saturated Fat: 2 g
- Unsaturated Fat: 5 g
- Trans Fat: 0 g
- Carbohydrates: 26 g
- Fiber: 1 g
- Protein: 33 g
- Cholesterol: 90 mg
Kaiden Poole
Co-Founder & Culinary Story Specialist
Expertise
Global Cuisine Inspiration, Cooking Techniques, Cross-Culture Fusion, Food Trends & Recipe Innovation, Flavor Storytelling, Food Writing, Creative Seasonal Menus
Education
- Program: Culinary Arts Certificate (Professional Cook 1 & 2)
- Focus: Fundamental kitchen techniques, food safety, menu planning, and real-world kitchen experience.
Online Gastronomy & Food Culture Courses (Various Platforms)Kaiden Poole brings global influence and culinary storytelling to the team. Based in Vancouver, BC, he earned his Culinary Arts Certificate from Vancouver Island University and expanded his knowledge through studies in gastronomy, nutrition, and sustainability. He focuses on cross-cultural flavors and creative fusion, crafting recipes that make international cuisine accessible to home cooks. For Kaiden, food is about curiosity, creativity, and connection around the table.