Crispy Coconut Chicken Tenders Recipe Kids Will Devour
coconut crusted chicken tenders are the kind of crowd-pleasing dish that earns a permanent spot in any weekly meal rotation.
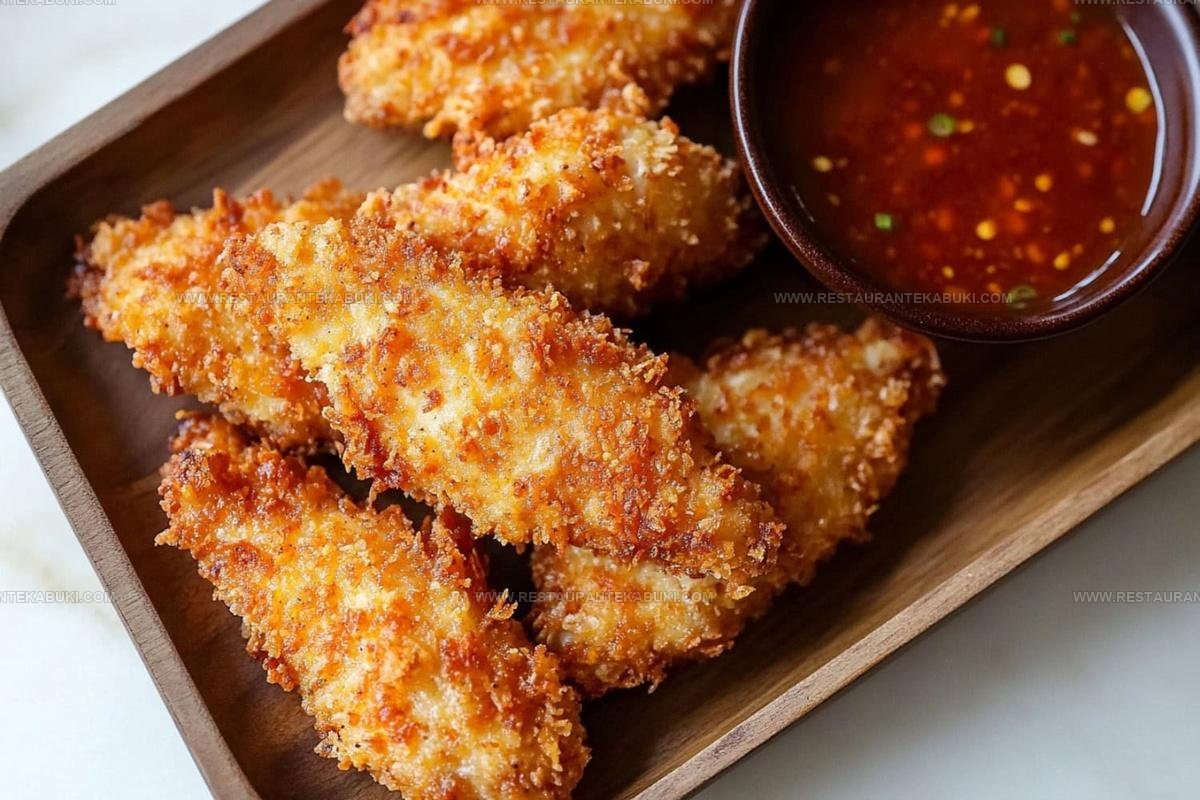
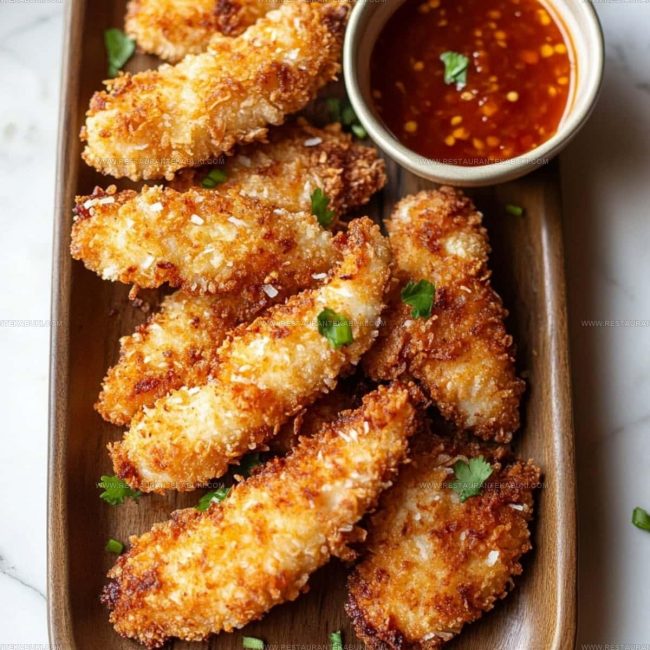
Crispy, golden, and packed with tropical flavor, they appeal to just about anyone who appreciates a satisfying crunch.
The texture alone makes every bite feel like a special occasion, not just another weeknight dinner.
Casual enough for a laid-back evening yet impressive enough to serve at a gathering, they strike a rare and wonderful balance.
Simple to love and easy to appreciate, coconut crusted chicken tenders have a way of brightening the mood at any table.
Head to the full recipe and see for yourself why so many people keep coming back to it.
The Attraction Behind Coconut Crusted Chicken Tenders
Ingredient Essentials for Coconut Crusted Chicken Tenders
Protein Base:Seasoning Mixture:Egg Wash And Coating:Cooking Fat:Cooking Tools Behind Coconut Crusted Chicken Tenders
How To Cook Coconut Crusted Chicken Tenders
Prepare Your Breading Station
Set up three shallow dishes in front of you for coating the chicken. In the first dish, combine the dry ingredients for seasoning:
Mix these together with a fork until everything is evenly distributed throughout the flour.
This becomes your seasoning base.
Make Your Egg Wash
In the second shallow dish, crack open 3 large eggs and add 2 tablespoons of water.
Whisk these together until the mixture is completely combined and uniform. This is what helps the coating stick to your chicken tenders.
Combine Coconut And Breadcrumbs
In your third dish, mix together the coating ingredients that give these tenders their texture:
Stir them together so the coconut and breadcrumbs are evenly distributed. Now your breading station is ready for coating.
Coat The Chicken
Take one chicken tender from your 1 1/2 pounds and dredge it thoroughly in the seasoned flour mixture, shaking off any excess powder so your chicken isn’t clumpy. Next, dip that floured tender into the egg wash, letting the drips fall back into the dish.
Finally, press your tender firmly into the coconut-breadcrumb mixture, making sure the coating covers all sides and sticks well. Place the coated tender on a clean plate.
Continue Coating All Pieces
Repeat the coating process from Step 4 with each remaining chicken tender until all 1 1/2 pounds are breaded. Once coated, let your chicken rest on the plate for 5 to 10 minutes so the coating can set.
Heat Your Oil
Pour vegetable oil into a large, heavy skillet until it reaches about 1 inch deep. Place the skillet over medium-high heat and wait for the oil to become shimmering and hot, which takes about 3 to 4 minutes.
The oil is ready when a small piece of bread dropped in sizzles immediately.
Fry The First Batch
Carefully place your coated chicken tenders into the hot oil in a single layer, leaving space between each piece so they cook evenly.
Fry for 2 to 3 minutes on the first side until the coating turns golden brown.
Cook The Second Side
Flip each tender over and fry the other side for another 2 to 3 minutes until it’s also golden brown and crispy.
Check that the internal temperature of the thickest tender reaches 165 degrees Fahrenheit using a meat thermometer to confirm the chicken is cooked through.
Drain The Tenders
Transfer the fried tenders to a plate lined with paper towels.
The paper towels absorb extra oil and help keep your tenders from getting soggy.
Fry Remaining Batches
If your skillet couldn’t fit all the tenders at once, repeat Steps 7, 8, and 9 with the remaining chicken pieces.
Work in batches rather than crowding the pan so each tender cooks evenly and stays crispy.
Serve With Your Choice Of Sauce
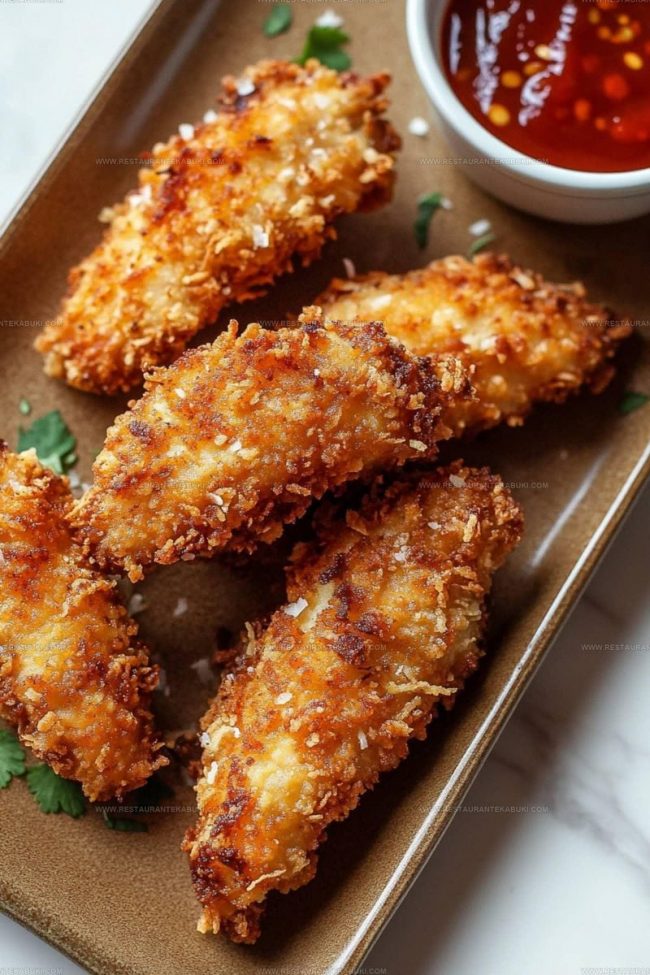
Arrange your finished tenders on a serving plate while they’re still warm.
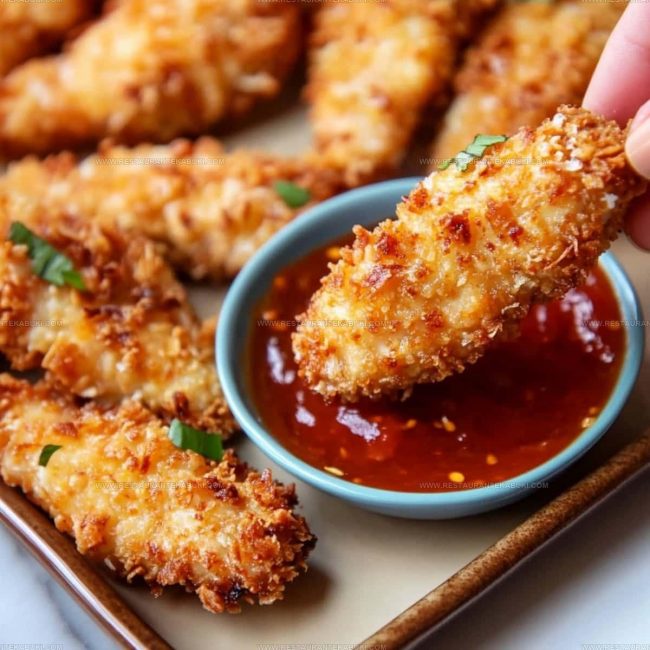
Set out dipping sauces alongside them such as sweet chili sauce, honey mustard, or ranch dressing for people to choose from based on what sounds good to them.
Extra Insight For Cooking Coconut Chicken Tenders
New Takes On Coconut Crusted Chicken Tenders
Serving Coconut Chicken Tenders With Style
Easy Storage Solutions For Coconut Crusted Chicken Tenders
FAQs
Can I use frozen chicken tenders?
Yes, thaw them completely before breading. Pat them dry with paper towels so the flour coating sticks properly to your chicken.
What oil works best for frying?
Use vegetable, canola, or peanut oil; they handle high heat without breaking down. Avoid olive oil since it smokes at lower temperatures.
Why is my coconut coating falling off?
Make sure each step of the breading station drains excess liquid. Press the coconut mixture firmly onto your tenders and let them rest for the full 5-10 minutes before frying.
How do I know when the oil is hot enough?
Test it by dropping a small piece of bread into the oil. If it sizzles and browns in about 30 seconds, your oil is ready for your chicken.
Can I bake these instead of frying?
Spray your tenders with cooking oil and bake at 400°F for 12-15 minutes, turning halfway through. They won’t get as crispy as fried, but it’s a lighter option.
What if the outside burns before the inside cooks?
Lower your heat to medium and fry longer; this prevents your coating from browning too fast before the chicken reaches 165°F internally.

Coconut Crusted Chicken Tenders Recipe
- Total Time: 25-30 minutes
- Yield: 4 1x
Description
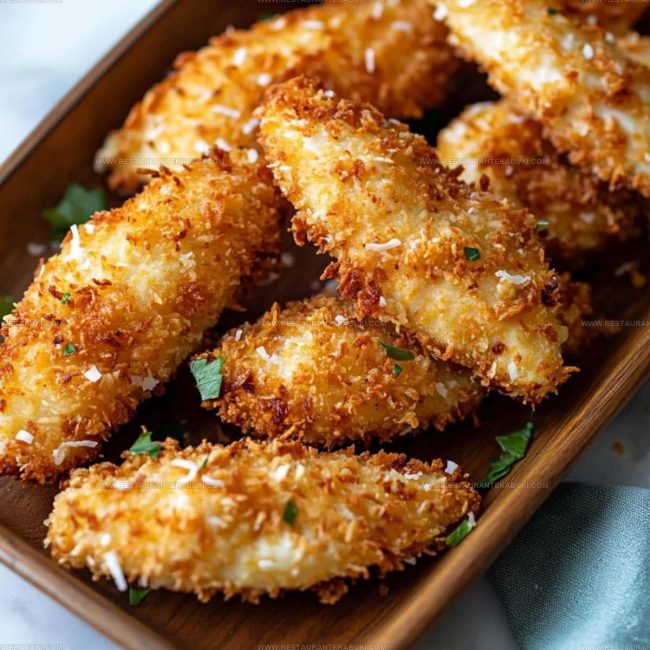
Making coconut crusted chicken tenders at home gives you crispy, golden pieces that stay tender inside while the toasted coconut coating adds a subtle sweetness and satisfying crunch. Dredging the chicken through egg, then coating it in shredded coconut before frying creates a restaurant-quality result that your family and guests actually enjoy eating.
Ingredients
Protein:
- 1.5 pounds chicken tenderloins
- 3 large eggs
Dry ingredients:
- 0.5 cup all-purpose flour
- 1 teaspoon salt
- 0.5 teaspoon black pepper
- 0.5 teaspoon garlic powder
- 0.5 teaspoon onion powder
- 0.375 teaspoon cayenne pepper
- 1 cup sweetened shredded coconut
- 1 cup panko bread crumbs
Wet ingredients:
- 2 tablespoons water
- Vegetable oil for frying
Instructions
- Arrange three shallow bowls in a row for your breading station, then mix 1/2 cup all-purpose flour with 1 teaspoon salt, 1/2 teaspoon black pepper, 1/2 teaspoon garlic powder, 1/2 teaspoon onion powder, and 1/4 to 1/2 teaspoon cayenne pepper in the first bowl.
- Whisk 3 large eggs with 2 tablespoons water in your second bowl until the mixture looks uniform.
- Combine 1 cup sweetened shredded coconut and 1 cup panko bread crumbs in your third bowl.
- Take one of your 1 1/2 pounds chicken tenderloins and coat it thoroughly in the flour mixture, tapping off any excess before moving to the next step.
- Dip that same tender into your egg wash, letting the extra drip back into the bowl.
- Press the tender firmly into your coconut-panko mixture so the coating sticks evenly to all sides.
- Lay the breaded tender on a clean plate and repeat steps 4 through 6 with each remaining piece of chicken.
- Let your coated tenders sit at room temperature for 5 to 10 minutes while you prepare to fry them.
- Pour about 1 inch of vegetable oil into a large heavy skillet and heat it over medium-high heat for about 3 to 4 minutes until the surface shimmers.
- Carefully place your tenders in the hot oil in a single layer without crowding, working in batches if needed to give each piece space.
- Fry for 2 to 3 minutes on the first side until golden brown, then flip and fry for another 2 to 3 minutes until the chicken reaches an internal temperature of 165°F.
- Transfer your cooked tenders to a paper towel-lined plate to drain any excess oil while you fry the remaining batches.
- Serve your tenders hot alongside your choice of dipping sauce.
Notes
- Let the breaded tenders rest for at least 5 minutes before frying so the coating sets properly and stays attached during cooking.
- Don’t skip the three-dish breading station setup; it keeps your hands cleaner and ensures even coating on each piece.
- Use a meat thermometer to check that the internal temperature reaches 165°F, since the outside browns quickly but the inside needs time to cook through.
- For a healthier version, bake these on a greased baking sheet at 400°F for about 15-18 minutes, flipping halfway through, though the texture won’t be quite as crispy as fried.
- Prep Time: 15 minutes
- Cook Time: 10-15 minutes
- Category: More Fried Chicken
- Method: Frying
- Cuisine: American
Nutrition
- Serving Size: 4
- Calories: 519 kcal
- Sugar: 8 g
- Sodium: 560 mg
- Fat: 28 g
- Saturated Fat: 15 g
- Unsaturated Fat: 12 g
- Trans Fat: 0 g
- Carbohydrates: 29 g
- Fiber: 3 g
- Protein: 38 g
- Cholesterol: 147 mg
Kaiden Poole
Co-Founder & Culinary Story Specialist
Expertise
Global Cuisine Inspiration, Cooking Techniques, Cross-Culture Fusion, Food Trends & Recipe Innovation, Flavor Storytelling, Food Writing, Creative Seasonal Menus
Education
- Program: Culinary Arts Certificate (Professional Cook 1 & 2)
- Focus: Fundamental kitchen techniques, food safety, menu planning, and real-world kitchen experience.
Online Gastronomy & Food Culture Courses (Various Platforms)Kaiden Poole brings global influence and culinary storytelling to the team. Based in Vancouver, BC, he earned his Culinary Arts Certificate from Vancouver Island University and expanded his knowledge through studies in gastronomy, nutrition, and sustainability. He focuses on cross-cultural flavors and creative fusion, crafting recipes that make international cuisine accessible to home cooks. For Kaiden, food is about curiosity, creativity, and connection around the table.