
Chicken Devolay Recipe For a Crispy Golden French Dinner
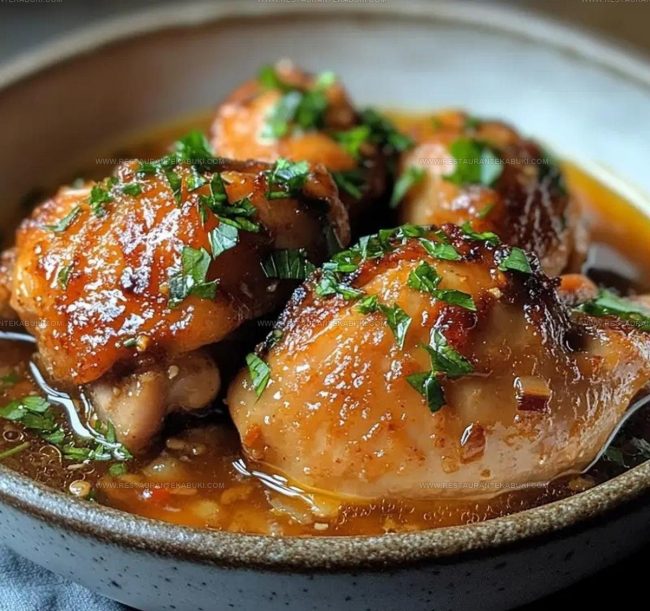
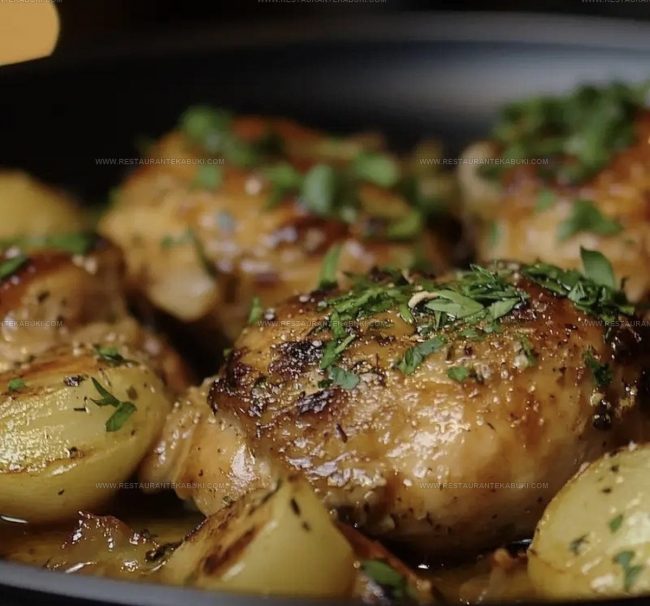
Chicken devolay recipe fans know that crispy on the outside and tender on the inside makes for an unforgettable meal.
Golden, satisfying, and full of flavor, it's a dish that works equally well for weeknight dinners or special occasions when you want something a bit more impressive.
It has roots in classic European cooking but feels right at home on any modern table.
You can serve it alongside simple sides or dress it up however you like.
Preparation may seem fancy, but it comes together more easily than you'd expect.
Why Chicken Devolay Is Always A Good Idea
All Ingredients Needed for Chicken Devolay
Main Ingredients:Breading And Seasoning:Aromatics And Finishing:Chicken Devolay Tool Collection
Easy Cooking Guide For Chicken Devolay
Flatten Your Chicken
Take your 500g of chicken breasts and remove any skin or bones so each piece lies flat. Lay a chicken breast between two pieces of plastic wrap or parchment paper.
Using a meat mallet, gently tap across the surface until the chicken reaches an even thickness of about half an inch. This helps it cook uniformly and makes it easier to stuff.
Season Before Stuffing
Sprinkle a pinch of salt and pepper across both sides of each flattened chicken breast. Don’t be shy with the seasoning since it’s the foundation for what comes next.
Add Your Filling
Place a slice of ham and a slice of cheese on one half of each chicken breast. Fold the other half over the filling to create a closed pocket.
This is where the flavor happens.
Keep The Pocket Closed
Secure the edges with toothpicks or kitchen twine so the filling stays put while cooking.
Just a couple of picks per pocket does the trick.
Set Up Your Breading Station
Arrange three shallow plates in a row.
On the first plate, put 100g of all-purpose flour. On the second, crack 1 egg into a bowl and beat it with a fork.
On the third, pour 150g of breadcrumbs. This setup keeps your breading process clean and organized.
Bread The Chicken Pockets
Take one chicken pocket and coat it with flour on both sides, shaking off the excess. Next, dip it into the beaten egg so it’s fully covered.
Finally, press it into the breadcrumbs, making sure every surface gets a good coating. Repeat with each pocket.
Heat Your Oil
Pour enough oil into a large frying pan to come about halfway up the sides of the chicken. Place the pan over medium heat and let it warm for a few minutes.
The oil is ready when a small piece of bread dropped in sizzles right away.
Fry The Breaded Pockets
Carefully place each breaded chicken pocket into the hot oil.
Fry for 5 to 7 minutes on the first side until it turns golden brown. Then flip and cook the other side for another 5 to 7 minutes.
The chicken is done when it’s no longer pink inside and the coating is crispy.
Remove Excess Oil
Once the chicken is cooked through, use tongs to transfer each pocket to a plate lined with paper towels.
This absorbs any extra oil and keeps them from getting soggy.
Finish With The Garlic Butter
While the chicken rests, melt 100g of butter in a small pan over low heat.
Mince your 2 garlic cloves and add them to the melted butter along with a handful of fresh parsley that you’ve chopped. Let this warm through for just a minute so the garlic flavor infuses into the butter.
Serve Your Chicken
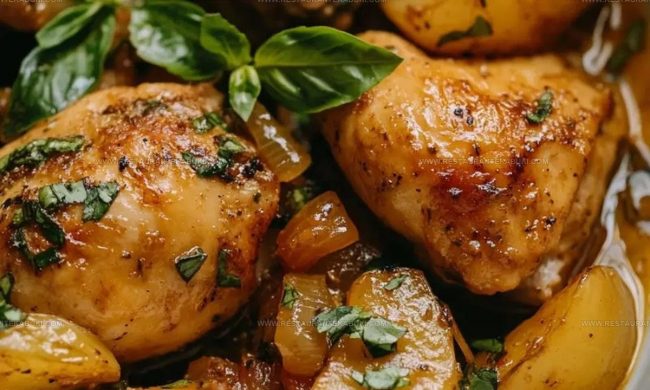
Remove the toothpicks or twine from each pocket. Drizzle the garlic butter over the chicken or serve it on the side for dipping.
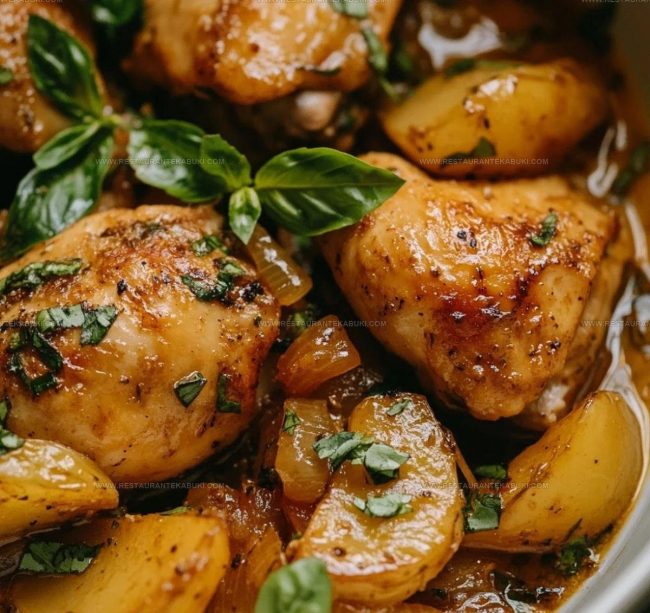
Plate this up alongside your favorite vegetables or rice, and dinner is ready.
How To Improve Cooking Chicken Devolay
What Creative Options Fit Chicken Devolay?
How to Serve Chicken Devolay with Bold Flavors
Easy Storage Tips For Chicken Devolay
FAQs
How do I know if the chicken breast is pounded thin enough?
The chicken should be about a quarter-inch thick and even throughout. If some spots are thicker than others, the thin parts cook faster and the thick parts stay undercooked.
Can I use toothpicks instead of kitchen twine?
Yes, toothpicks work great and are easier to remove after cooking. Just make sure to use enough of them so the filling stays tucked inside while frying.
What happens if I skip the breading step?
Without breading, the chicken gets soggy from the oil and the ham and cheese leak out into the pan. The coating keeps everything sealed and gives that nice golden crust.
How hot should the oil be for frying?
Medium heat is best so the outside gets golden while the inside cooks through. If the oil is too hot, the coating burns before the chicken finishes cooking.
Can I prepare the chicken pockets ahead of time?
Yes, assemble them, secure them with toothpicks, and keep them in the refrigerator until ready to bread and fry. They stay fresh for a few hours.

Chicken Devolay Recipe
- Total Time: 25-29 minutes
- Yield: 4 1x
Description
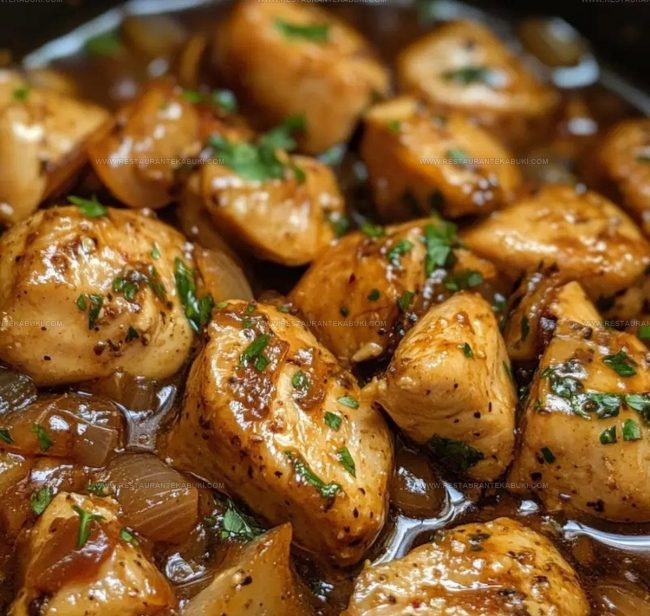
Chicken devolay brings together tender chicken breasts with a silky Madeira wine sauce that makes any weeknight dinner feel special, and the combination of mushrooms and shallots gives you layers of flavor that taste like you spent hours in the kitchen.
Ingredients
Proteins and binders:
- 500 grams chicken breasts
- 1 egg
Dry ingredients:
- 100 grams all-purpose flour
- 150 grams breadcrumbs
- salt to taste
- pepper to taste
Aromatics and fats:
- 100 grams butter
- 2 cloves garlic
- 1 handful fresh parsley
Instructions
- Remove the skin and bones from your 500g chicken breasts, then use a meat mallet to pound them until they’re about 1/4 inch thick and even throughout.
- Season both sides of your flattened chicken with salt and pepper to your taste.
- Lay your chicken flat and place ham and cheese on one half, then fold the other half over to create a pocket shape.
- Secure your filled chicken pockets with toothpicks or kitchen twine so the filling stays inside during cooking.
- Arrange three shallow bowls in front of you: one with 100g all-purpose flour, one with 1 beaten egg, and one with 150g breadcrumbs.
- Dredge each chicken pocket in the flour, shaking off excess, then dip it into the egg, and finally coat it thoroughly in the breadcrumbs.
- Pour enough oil into your large frying pan to reach about 1/4 inch depth and heat it to medium temperature for about 2-3 minutes.
- Place your breaded chicken pockets into the hot oil and fry them for 5-7 minutes on each side until they turn golden brown and the internal temperature reaches 165°F.
- Transfer your cooked chicken to a paper towel-lined plate so it can drain for 2 minutes and remove any excess oil.
- Remove the toothpicks or twine from your chicken and serve it hot with your choice of sides.
Notes
- Pound your chicken gently and evenly so it cooks through at the same rate and stays tender instead of drying out on the edges.
- Make sure your oil reaches the right temperature before adding chicken; if it’s not hot enough, the breading absorbs oil and becomes greasy instead of crispy.
- Toothpicks work fine for securing the pockets, but soak them in water first so they don’t burn during frying.
- For a lighter version, skip the frying and bake your breaded chicken at 375°F for about 25 minutes until golden, which cuts down on oil while keeping the same crispy coating you’re after.
- Prep Time: 15 minutes
- Cook Time: 10-14 minutes
- Category: More Fried Chicken
- Method: Frying
- Cuisine: American
Nutrition
- Serving Size: 4
- Calories: 586 kcal
- Sugar: 1 g
- Sodium: 280 mg
- Fat: 40 g
- Saturated Fat: 22 g
- Unsaturated Fat: 17 g
- Trans Fat: 0.5 g
- Carbohydrates: 31 g
- Fiber: 2 g
- Protein: 38 g
- Cholesterol: 130 mg
Kaiden Poole
Co-Founder & Culinary Story Specialist
Expertise
Global Cuisine Inspiration, Cooking Techniques, Cross-Culture Fusion, Food Trends & Recipe Innovation, Flavor Storytelling, Food Writing, Creative Seasonal Menus
Education
- Program: Culinary Arts Certificate (Professional Cook 1 & 2)
- Focus: Fundamental kitchen techniques, food safety, menu planning, and real-world kitchen experience.
Online Gastronomy & Food Culture Courses (Various Platforms)Kaiden Poole brings global influence and culinary storytelling to the team. Based in Vancouver, BC, he earned his Culinary Arts Certificate from Vancouver Island University and expanded his knowledge through studies in gastronomy, nutrition, and sustainability. He focuses on cross-cultural flavors and creative fusion, crafting recipes that make international cuisine accessible to home cooks. For Kaiden, food is about curiosity, creativity, and connection around the table.