Oven-Baked Crispy Chicken Tacos Recipe That Crunch Perfectly
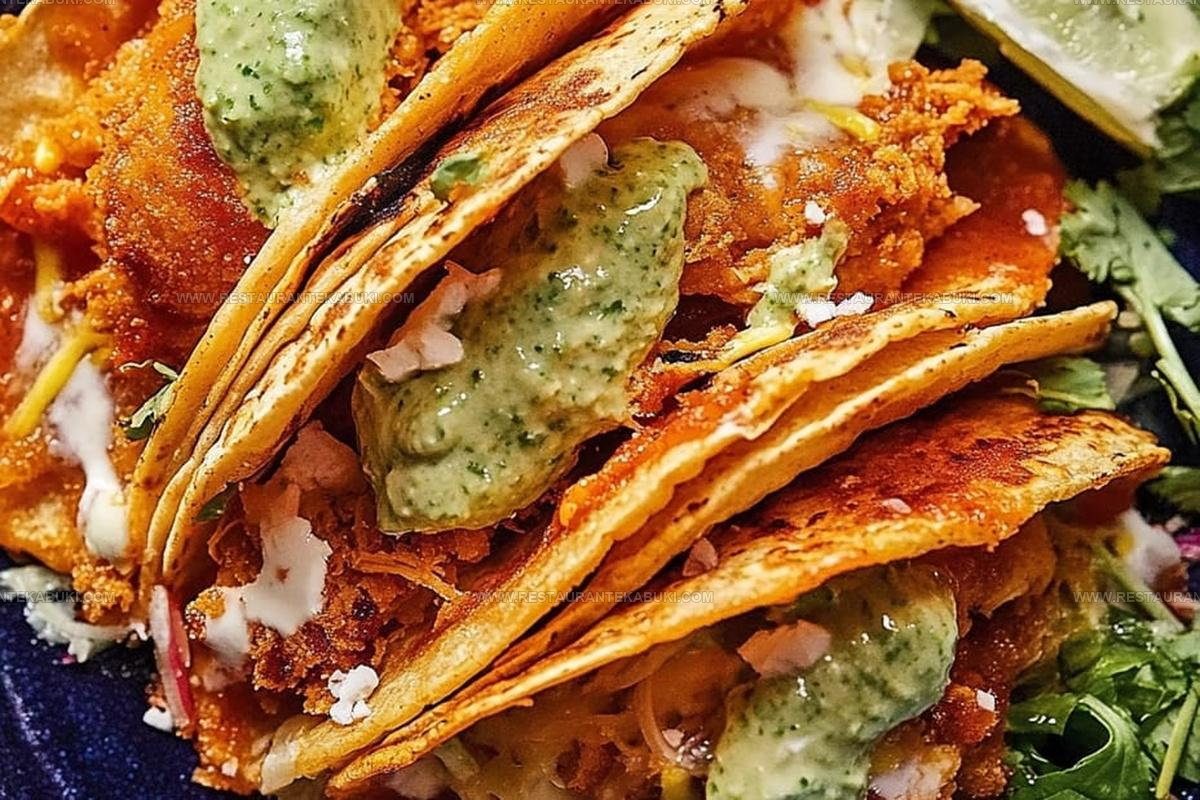
Baked crispy chicken tacos have a special way of making any weeknight feel like a celebration.
The satisfying crunch paired with bold, savory flavor is something you simply cannot resist.
Few meals manage to strike that perfect balance between casual comfort and crowd-pleasing excitement quite so effortlessly.
Warm, golden, and delightfully crisp, every bite delivers a sense of pure satisfaction that keeps you coming back for more.
It is the kind of recipe that fits just as naturally on a busy Tuesday as it does at a weekend gathering.
Simple to love yet impressive enough to share, this dish earns its place as a true household favorite.
What Makes Crispy Chicken Tacos a Favorite
Ingredients to Prepare Ahead for Baked Crispy Chicken Tacos
The Protein:The Seasonings:The Taco Assembly:Which Tools Are Used for Baked Crispy Chicken Tacos
How To Prepare Crispy Chicken Tacos
Heat Your Oven
Set your oven to 400°F and let it preheat while you get your ingredients ready. This temperature ensures your chicken cooks through evenly and develops a nice crispy exterior.
Cut The Chicken
Take your 1 lb of boneless, skinless chicken breasts and cut them into bite-sized pieces. Cutting them into roughly equal sizes helps them cook at the same rate, so nothing ends up overcooked while other pieces are still raw.
Season The Chicken
In a bowl, combine these ingredients to create your seasoning blend:
Add your chicken pieces to the bowl and toss everything together until each piece gets coated evenly with the spice mixture.
Bake The Chicken
Spread your seasoned chicken out on a baking sheet lined with parchment paper and place it in your preheated 400°F oven for 20 to 25 minutes.
The chicken is ready when it’s cooked all the way through and the edges have turned golden and crispy.
Warm The Tortillas
While your chicken finishes baking, place 12 small corn or flour tortillas in a dry skillet over medium heat for about 30 seconds per side.
This makes them flexible and easier for you to work with when filling them.
Assemble Your Tacos
Once the chicken comes out of the oven, take each warm tortilla and fill it with a generous handful of the baked chicken pieces.
Build your tacos the way that makes sense to you by layering on 1 cup of shredded lettuce and 1 cup of diced tomatoes.
Add Cheese And Creamy Toppings
Sprinkle 1/2 cup of shredded cheese across your tacos, then add a spoonful of sour cream or Greek yogurt to each one.
Top everything off with 1/4 cup of salsa distributed among all your tacos.
Garnish And Serve
Finish your tacos with a sprinkle of fresh cilantro if that’s something your family enjoys.
Serve them right away while everything is still warm and the textures are at their best.
Cooking Tips For Better Crispy Chicken Tacos
Creative Twists For Baked Crispy Chicken Tacos
What Are Good Pairings For Baked Crispy Chicken Tacos
Smart Ways To Store Crispy Chicken Tacos
FAQs
Can I use chicken thighs instead of chicken breasts?
Chicken thighs work great for this recipe. They tend to stay juicier than breasts when baked, so your tacos will have more flavor. Just cut them into similar-sized pieces so they cook evenly.
How do I know when the chicken is done baking?
The chicken is ready when it’s white all the way through with no pink inside. If you’re unsure, use a meat thermometer; the internal temperature should reach 165°F (74°C).
What if my chicken pieces aren’t crispy enough?
Make sure your chicken pieces are spread out in a single layer on the baking sheet with some space between them. Crowding the pan traps steam, which prevents crispiness. You can also broil the chicken for the last 2-3 minutes to add extra crunch.
Can I prep the chicken ahead of time?
Yes, you can season the chicken and let it sit in the refrigerator for up to 8 hours before baking. This helps the flavors soak in. Just bake it straight from the fridge, adding a few extra minutes to the cooking time.

Baked Crispy Chicken Tacos Recipe
- Total Time: 35 minutes
- Yield: 4 1x
Description
Baked crispy chicken tacos bring all the crunch and flavor of your favorite taco night without the extra oil, since baking keeps things healthier while your chicken still gets wonderfully crispy on the outside. Seasoned chicken nestled in warm tortillas with your favorite toppings makes a satisfying meal that tastes indulgent but keeps things light.
Ingredients
Protein and Oil:
- 1 pound boneless, skinless chicken breasts
- 1 tablespoon olive oil
Seasonings:
- 2 teaspoons chili powder
- 1 teaspoon cumin
- 1 teaspoon garlic powder
- 1/2 teaspoon onion powder
- 1/2 teaspoon salt
- 1/4 teaspoon black pepper
Taco Assembly:
- 12 small corn or flour tortillas
- 1 cup shredded lettuce
- 1 cup diced tomatoes
- 1/2 cup shredded cheese
- 1/4 cup sour cream or Greek yogurt
- 1/4 cup salsa
- Fresh cilantro, for garnish
Instructions
- Heat your oven to 400°F (200°C) so it’s ready when you need it.
- Cut your 1 lb of chicken breasts into bite-sized pieces that cook evenly.
- In a bowl, combine 1 tablespoon of olive oil with 2 teaspoons of chili powder, 1 teaspoon of cumin, 1 teaspoon of garlic powder, 1/2 teaspoon of onion powder, 1/2 teaspoon of salt, and 1/4 teaspoon of black pepper.
- Add your chicken pieces to the seasoning mixture and toss everything together until each piece gets coated.
- Spread the seasoned chicken on a parchment-lined baking sheet in a single layer.
- Bake at 400°F (200°C) for 20 to 25 minutes until the chicken is cooked through and the edges turn crispy.
- While your chicken bakes, warm each of your 12 tortillas in a dry skillet over medium heat for about 30 seconds per side to make them flexible and easier to handle.
- Lay out a warm tortilla and pile on a generous helping of the baked chicken.
- Top your chicken with 1 cup of shredded lettuce, 1 cup of diced tomatoes, and 1/2 cup of shredded cheese distributed across your tacos.
- Dollop 1/4 cup of sour cream or Greek yogurt and 1/4 cup of salsa onto each taco according to how much you prefer.
- Sprinkle fresh cilantro over the top if that’s something you enjoy.
- Serve your tacos right away while they’re still warm and everything stays crispy.
Notes
- Cut your chicken into uniform pieces so everything bakes evenly and finishes cooking at the same time.
- Don’t skip warming the tortillas in a dry skillet because this step makes them flexible enough to hold all your fillings without tearing.
- If you’re keeping these dairy-free, Greek yogurt works just as well as sour cream and gives the same creamy texture your taco needs.
- Check that the chicken reaches 165°F internally before serving, and if the edges brown too quickly, tent the baking sheet with foil for the last few minutes of cooking.
- Prep Time: 10 minutes
- Cook Time: 25 minutes
- Category: Baked Chicken
- Method: Baking
- Cuisine: Mexican
Nutrition
- Serving Size: 4
- Calories: 380 kcal
- Sugar: 3 g
- Sodium: 620 mg
- Fat: 18 g
- Saturated Fat: 6 g
- Unsaturated Fat: 11 g
- Trans Fat: 0 g
- Carbohydrates: 27 g
- Fiber: 4 g
- Protein: 32 g
- Cholesterol: 75 mg
Kaiden Poole
Co-Founder & Culinary Story Specialist
Expertise
Global Cuisine Inspiration, Cooking Techniques, Cross-Culture Fusion, Food Trends & Recipe Innovation, Flavor Storytelling, Food Writing, Creative Seasonal Menus
Education
- Program: Culinary Arts Certificate (Professional Cook 1 & 2)
- Focus: Fundamental kitchen techniques, food safety, menu planning, and real-world kitchen experience.
Online Gastronomy & Food Culture Courses (Various Platforms)Kaiden Poole brings global influence and culinary storytelling to the team. Based in Vancouver, BC, he earned his Culinary Arts Certificate from Vancouver Island University and expanded his knowledge through studies in gastronomy, nutrition, and sustainability. He focuses on cross-cultural flavors and creative fusion, crafting recipes that make international cuisine accessible to home cooks. For Kaiden, food is about curiosity, creativity, and connection around the table.